
The general population is becoming more aware of artificial intelligence (AI). ChatGPT is a website that uses AI to provide responses to your questions or requests. It was released in November 2022. In the first 5 days that it was available, it had over 1 million users. ChatGPT says its […]
Fun Activities
155 posts

Now, before I get into the explanation of this art activity, I want to say something. Sometimes, when grandparents do an art activity or craft with the grandkids, they expect their grandkids’ creation to be absolutely perfect. And that, my Dear Reader, is a rather unrealistic expectation, if you ask […]

Plastic wrap. It isn’t something that normally comes to mind when you think of watercolors. But, believe it or not, that’s exactly what you need for this fun art activity. So here’s a list of things you’ll need: Some people assume that they aren’t artistic. They assume that since they […]
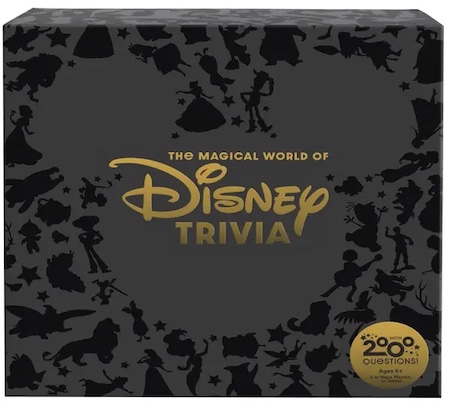
(NOTE: I was given a free game but all opinions are my own.) We can agree that everyone loves Disney, right? Well, Disney has just come out with a trivia game like no other! One that the whole family can play. All together. Really! From an old fogey grandma (like […]