
In my jaunts around the Internet, I have seen sites explaining how to make notepads. I was intrigued. Then, I was discouraged. Those sites made it seem like such a laborious process involving pieces of wood and heavy metal clamps. Couldn’t there be an easier way?
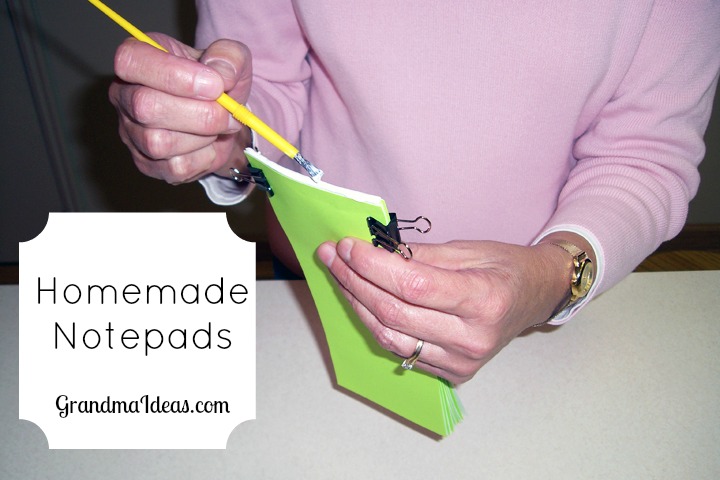
I came up with a lazy man’s method that is simple and doesn’t require those pesky blocks of wood and metal clamps. I used small binder clips instead. MUCH easier. (Something my weakling grandma arms could handle.)
I created some designs where I could get 3 notepad pages per sheet of 8 x 11 piece of paper. I printed the designs on various colors of paper. The Gingerbread Nook has such cute notepad templates that I won’t even post mine because I am so embarrassed by how amateurish they are. Sigh. (I wish I had found their templates before I struggled making mine . . .)
Then, I cut the paper and put them in stacks of 30 pieces. I don’t know why 30. It just seemed like a nice number. For the back of the notepad, I cut up some manila folders. I used one piece to add stiffness for the one inch magnet strip that I put on the backside. If you have lightweight cardboard, you could use that.
I clamped on two small binder clips — one on each side. I used a very cheap paintbrush to brush padding compound on the top end of the notepad. I didn’t put any clips on the top edge but if you have lots of pages you might want to do that.
Note: I bought some padding compound from an online company. The compound cost $2.98. Shipping cost $5.98! The jar of compound was really small and I thought the total cost for it was rather expensive. I did a trial run using Elmer’s glue. That notepad seemed to stay together just fine. So, if you don’t want to spend $9 on a small jar of padding compound, you could probably use Elmer’s glue and be just fine.
After letting the compound dry for a while, I put on a second coat.
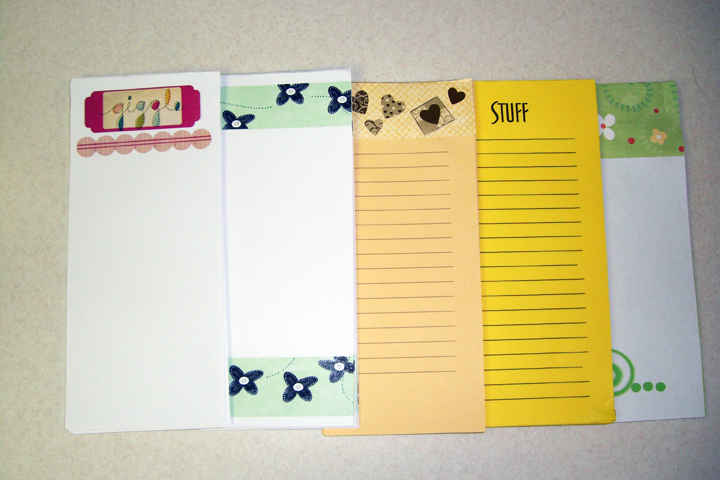
Then, on some of the notepads, I decorated the top part of the notepad with stickers and scrapbooking paper. (The lime green flowered pad on the far right in the picture below has some scrapbooking paper on it.) I put a one inch magnetic strip on the back so I could put the notepad on my fridge.
This was a simple project to do. You might want to do something like this with your grandchildren after you finish eating your Thanksgiving meal while those testosterone-filled family members watch football games on TV and make their blood pressure go sky high.


3 thoughts on “Make Notepads with Your Grandchildren”
Great suggestion! Thanks so much for sharing it.
I’ve always loved little notepads, and I’ve always wanted to give this a try.
I came across a genius idea for a replacement for that expensive padding compound — silicone sealant! I’m not sure how much it costs, but it’s got to be less than the padding compound because you can get it at the home improvement store — no shipping!
Here’s where I found it:
http://www.skiptomylou.org/2009/09/09/how-to-make-a-notepad/
Very cute and imaginative idea. It would be fun to have your grandkids make there own or even pick out the designs. Thanks for the glue tip.