Do you every get an idea for a craft — and then things go wonky?
That’s totally me and this Christmas lights craft.
We have tons of rocks on our 2 acre property.
It was a bugger to dig holes to plant trees, shrubs and flowers. And grass. And a vegetable garden. And for installing a swing set and play ground.
Ugh!
But then, since rocks are so plentiful, using them for crafts would make the craft cheaper. Right?
Right. Inexpensive is what I’m all about.
Even though this craft might be cheaper, when I added grandkids to the mixture, the end product was not quite like what I had in mind.
You’ll see what I mean in a minute.
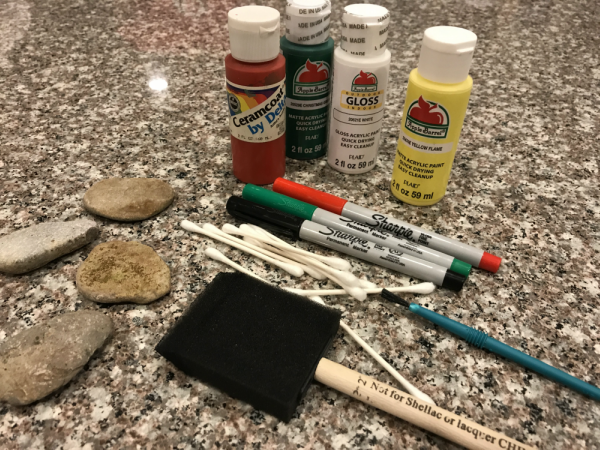
But first, let me tell you the materials I gathered for the first time I did the Christmas lights craft:
- flat rocks
- white, red, green, yellow paint
- Q-tips
- craft painting brushes
- black, red, green sharpies
First, my granddaughters painted one side of the rocks white.
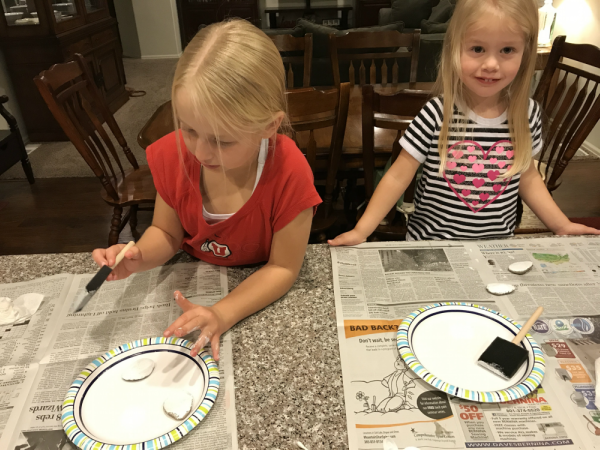
Then we waited. And waited. And waited for the paint to dry.
Then, they painted the other side white.
And waited some more. (This was the hardest part of the craft!)
Then, my granddaughter used the black sharpie to draw black lines to represent a string for the Christmas lights.
She said she could do it so I didn’t pay too much attention to what she drew, , ,
Then, she decided to draw the ‘lights’ using the green and red sharpies — and not use the acrylic paint.
Here are their finished rocks . . .
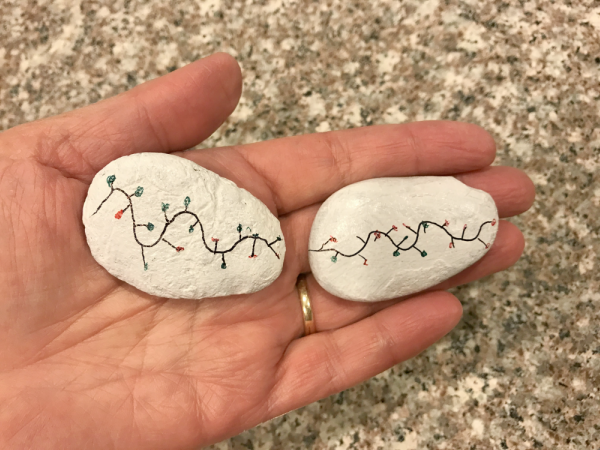
They loved doing this craft and were so proud of their painted rock.
On the other hand . . .
. . . in my mind, there were two problems with this activity. First, it took a LONG time for the white paint to dry on the rocks.
Second, the string of lights was smaller than I imagined. I guess since the rocks were small that my granddaughters felt they had to do small strings.
So. When I did this craft with some of my grandsons, I changed things a bit.
I had white card stock paper for them. No rocks!
I used a black sharpie to draw the string of lights on the paper (so that what was drawn matched what was in my head).
Then, using Q-tips, they dabbed on different color of paints.
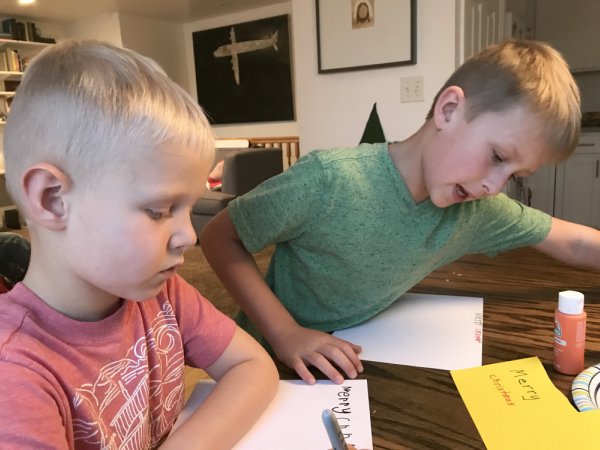
I was SURE that their end product would be what I imagined.
Ha!
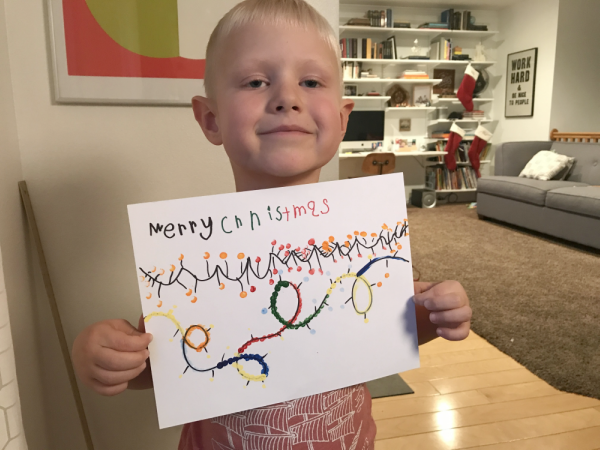
Elliot thought that if a few dots of paint were good, then MANY dots were better. Then, dots along the ‘string’ part made it even better. Then, drawing his own string was superb.
Then he wrote Merry Christmas along the top of the paper.
He was pleased as punch. (I was just pleased that he didn’t get paint all over himself. . . )
While Elliot was patiently adding dots, Simon used the Q-tips to add dots AND to brush paint on his ‘string.’ And, if Elliot could draw his own string of lights, Simon could do it, too! (Do I sense come competition? Not at all!)
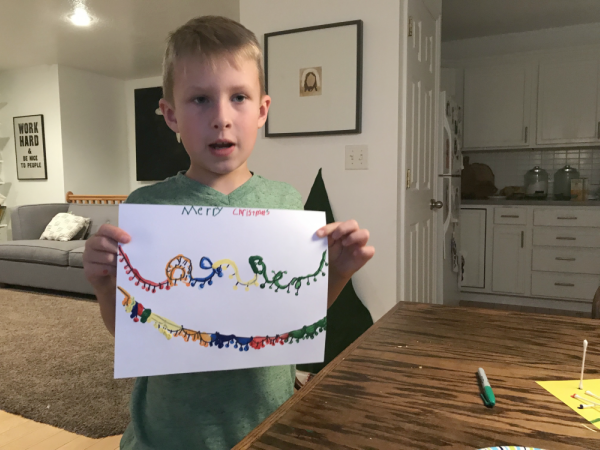
While I had a specific ‘look’ in my mind that I thought the craft should have, I gave only general instructions. I wanted them to use their own creativity as they made it. And they did.
And they had fun.
But as I thought of you, Dear Reader, I thought that maybe I could help you have a better activity than painting on rocks.
I made a free printable. On the top it says Merry Christmas (so little grandchildren who don’t know how to spell don’t have to worry about it).
Then I drew a ‘string’ on the paper.
After you print it out, have your grandkids use a Q-tip to add dabs of paint for the ‘lights.’ If you don’t want the mess that comes with painting, your grandkids could draw the lights with markers.
(Don’t be surprised if your grandkids personalize this printable by using their imagination!)
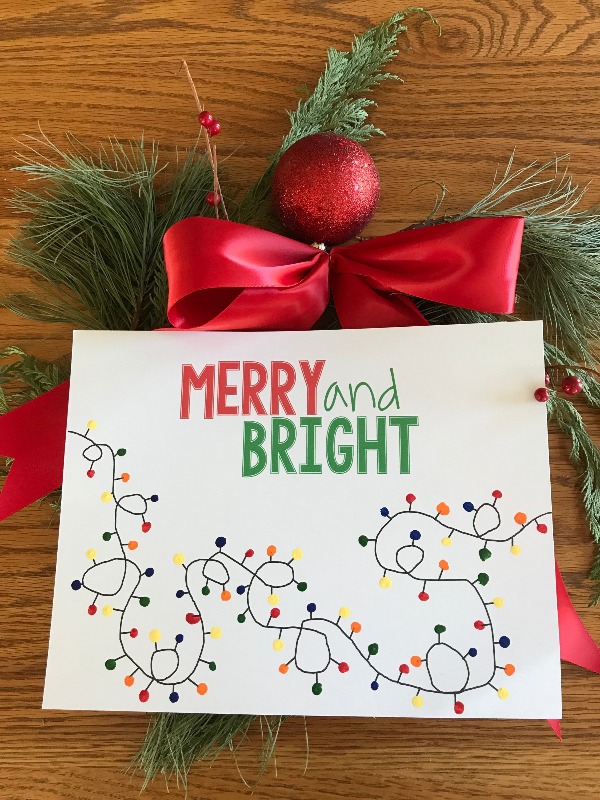
THIS!
This is what I had in mind for a Christmas lights craft!
(You know, I’m all for creativity with grandkids, but sometimes when I have a very specific idea in mind, I guess I just get to make the craft myself . . . )
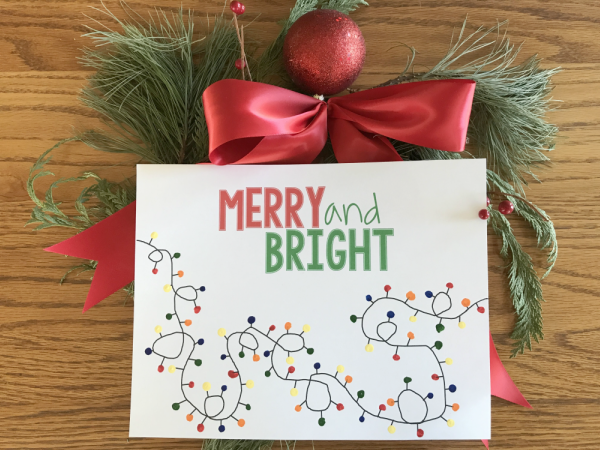
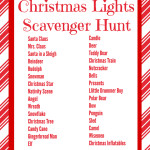
Here’s the link to the free printable if you want your craft to be like what I had in mind.




6 thoughts on “Christmas Lights Craft”
Aw, I do love your sample but I too find I have to let go of what I imagine the project to turn out like and let my kids take over; after all that is what the creative process is all about. I do love the rocks too; even if the lights are a bit small. I’d love if you’d share with us over at the Virtual Refrigerator (http://www.ourunschoolingjourney.com/2017/12/virtual-refrigerator-penguin-portraits.html). Pinned.
I love these little lights!
I love the rock painted lights!
Thanks, Lynda! The girls loved the rocks, too!
I LOVE these ideas! I love what you had in mind for the craft! Anything that occupies the kids is always great! You are such a fun grandma!
Natalie, you are so sweet (to think I’m a fun grandma)! Merry Christmas!