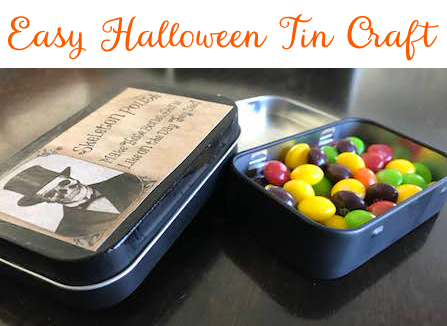
I love Halloween crafts. Not the creepy, scary type. More the humorous kind. Orange-and-yellow-with-black-thrown-in kind. Cute-for-little-grandkids kind. And this year, something that appeals to older grandsons.
This craft fits the bill!
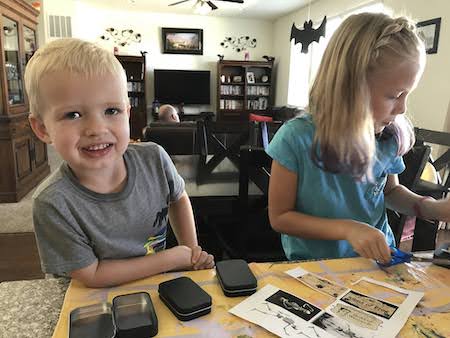
Somehow, I neglected to take a picture of the needed supplies for this craft. Am I getting senile? Possibly. Were my grandkids so excited to do this craft that they couldn’t wait for me to take pictures? Most definitely.
Hopefully, the lack of a picture won’t deter you. With that being said, here is a list of things you’ll need:
- small tins
- my free Halloween printables
- Mod Podge
- sponge paint brush
- scissors
I want to chat a moment about the tins for this craft.
Originally, I thought that I would buy Altoid mints and use that tin. But they cost almost $2 per container. Since I have 10 grandkids, using those tins would cost almost $20.
Since I wanted black tins, I’d have to buy spray paint. Then, I’d have the hassle of painting them all. What a bother!
I searched on Amazon and, lo and behold, I found the size that I wanted. AND! They were already black. AND! I got 30 tins for $20 which meant that each grandchild could make 3.
Huzzah!
Of course you can choose what you buy for your Halloween tins. I’m just saying that for me buying them on Amazon was a better deal all the way around.
Now, let’s talk a wee bit about the printables. Since you’ll be brushing Mod Podge over them, I highly recommend that you print them on a laser printer — unless smeared ink is the look that you’re going for . . .
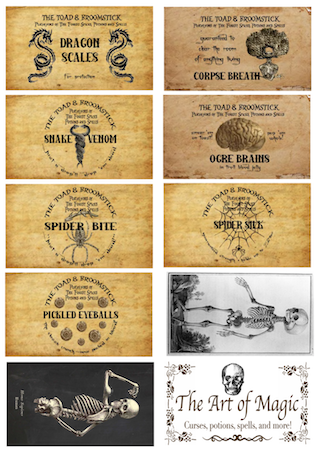
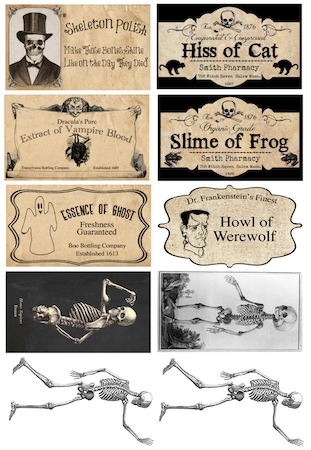
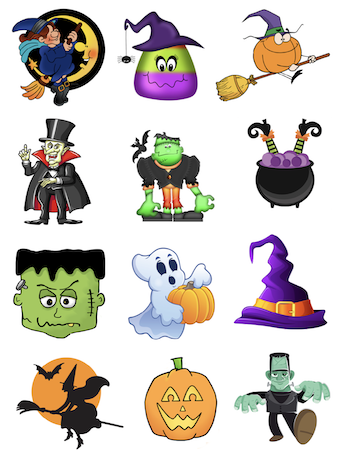
I created 4 pages of graphics. They are PDF files that are 8.5 inches by 11 inches so they will print on a regular size of copy paper.
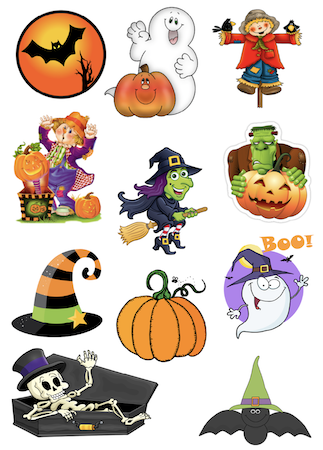
I knew that my granddaughters would like cutesy Halloween ones. So I made 2 sheets of them.
I knew that my grandsons would like something a little bit manly, so I created 2 sheets of those types of graphics.
There are a couple of skeletons that I thought were hilarious — one ‘flexing’ his muscle and one like he is waving good-bye as he’s walking away. Since I have 5 grandsons, I have several copies of the skeletons so that there would be plenty of them to go around. (Read that to mean so that they wouldn’t squabble over them.)
Here’s what the graphics look like. Right-click on the title above the graphic to download the ones that you want.
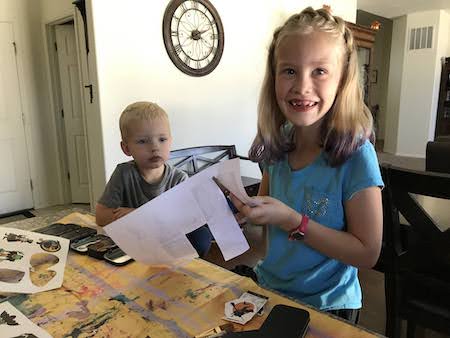
Okay. Now on to making these easy Halloween tins!
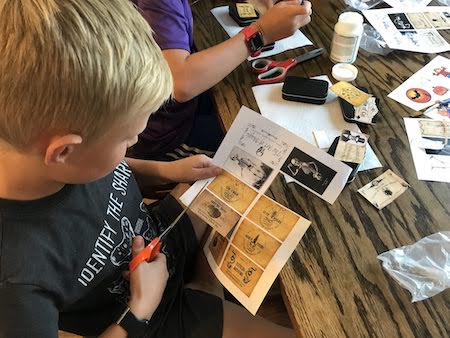
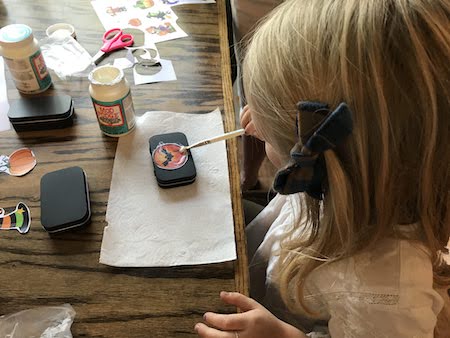
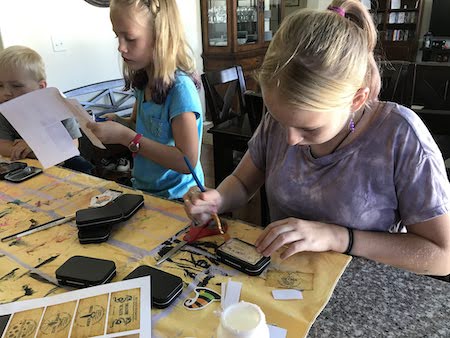
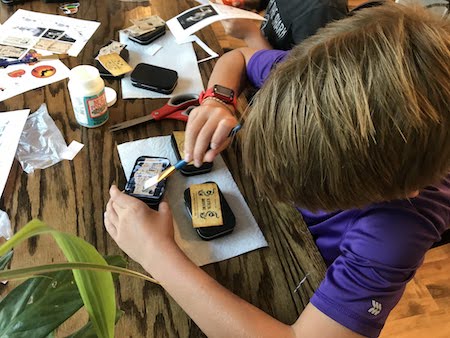
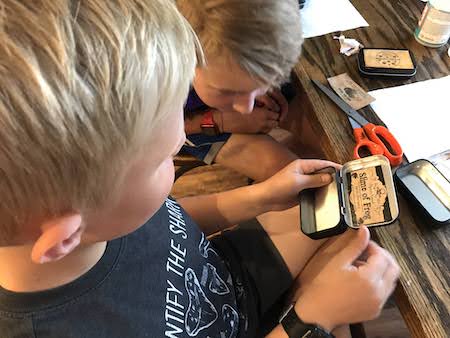
First, cut out your desired graphics. Don’t try to cut exactly along the edges of the cute ones. That’s way too hard. Just cut generally around them leaving about 1/4 inch or more of white paper around the graphic.
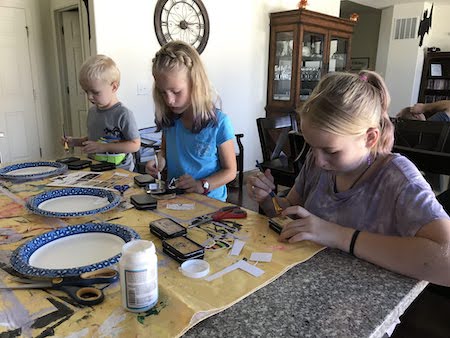
Spread Mod Podge on the lid.
Isn’t this the cutest little face ever?
Place your graphic on top of the Mod Podge. Press firmly so that the whole graphic is down flat. If you don’t, you’ll end up with air bubbles underneath. Don’t ask me how I know . . .
Also, be sure your finger isn’t wet or doesn’t have any Mod Podge on it. If so, part of the graphic will peel off. Don’t ask me how I know that . . .
Spread a layer of Mod Podge over the graphic. Make sure you cover the whole top of the tin. If you don’t, when the Mod Podge dries you can tell where there isn’t any Mod Podge because it won’t be as shiny. Please, don’t ask about this either . . .
Let’s pause here to talk about Mod Podge. I used the dishwasher safe kind.
I thought that my grandkids might be handling their Halloween tins a lot with their grubby little hands. I worried that moisture from their sweaty hands would soften regular Mod Podge. If it was softened, the graphic could come off. I could see tears in the future if the graphic came off. To combat both graphics coming off and the possible tears, I used the dishwasher safe kind.
Of course, you can use whatever you want. I’m just telling you what I used.
Let’s also take a moment to talk about brushes. My grandkids used regular paint brushes. I think that sponge brushes would have been easier.
Once the top coat of Mod Podge is dry, you are done! Wasn’t that an easy Halloween craft?
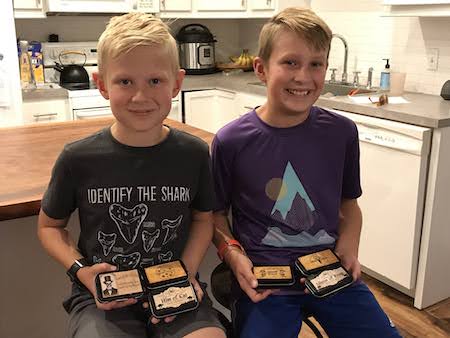
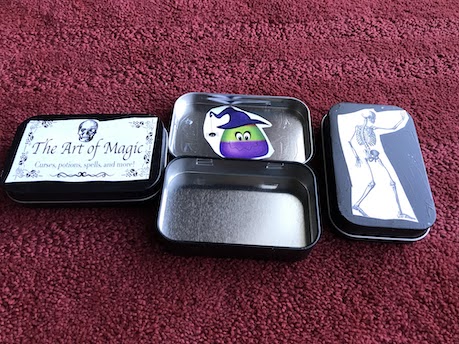
My grandkids decided that if a graphic on the lid was good, one on the inside of the lid was good. And so was one on the inside bottom and the outside bottom!
Here’s a picture showing the inside lid of one tin.
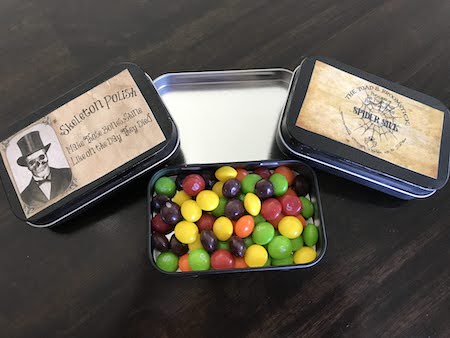
This picture shows 3 tins opened up so you can see the top and bottom sides.
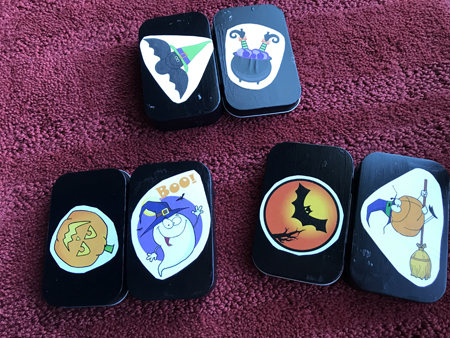
The Halloween tins can now be filled with candy corn or the candy of your choice (Halloween or otherwise). After all, isn’t Halloween all about the candy?


One thought on “Easy Halloween Tin Craft”
Thank you!