I love Halloween — the orange and yellow colors, the decorations that are cute (and not evil or creepy looking), cute costumes (not creepy ones), the candy. Oh, especially the candy!
I also love doing fun and easy crafts with the grandkids. These clothespin puppets fit that criteria perfectly!
Here’s what you’ll need:
- white card stock paper
- scissors
- clothespins
- glue gun
- my free printable
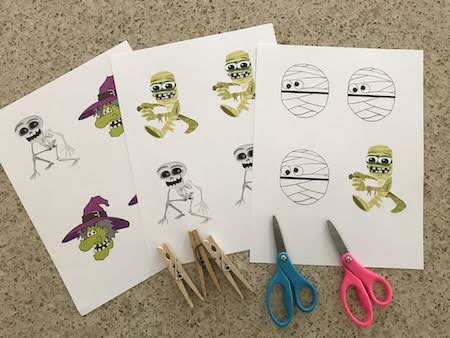
First, download my free printable. Since I had 3 grandkids making the puppets, I made 3 copies of each puppet so that’s how many are in the free printable. Print it on your white card stock paper.
Cut out the puppets. (Isaac’s trying to decide which one he wants to do first.)
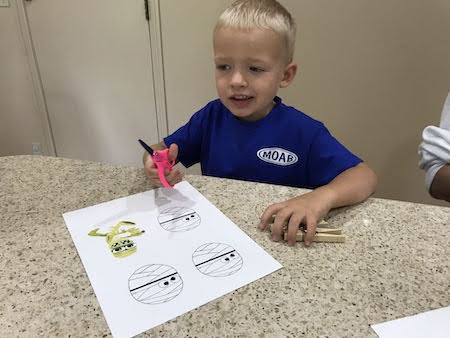
I recommend doing a ‘rough’ cut around the puppets — meaning cut roughly around the puppet. Don’t cut along the exact edge. It’s too hard for grandkids to cut around the small intricate parts of the puppets.
Isaac has to check out what Natalie is doing . . .
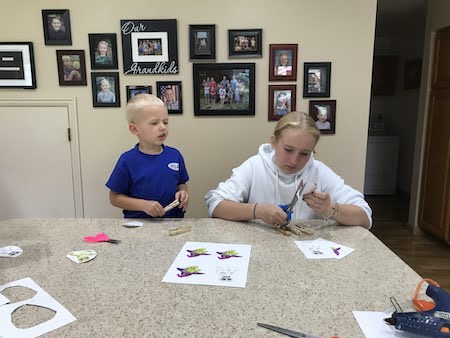
After cutting out the puppet, cut all the way through the mouth area so you have the top of the puppet’s head and the lower face/body of the puppet.
Put a dab of hot glue on the top edge of the clothespin. Push the puppet head onto the glue.
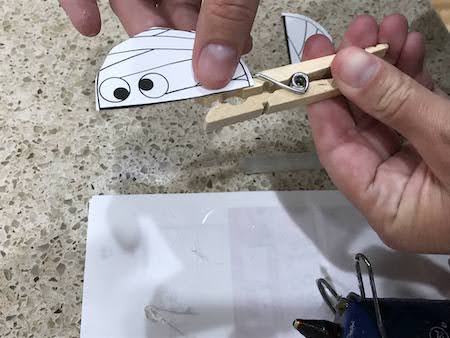
Add a dab of hot glue onto the bottom edge of the clothespin. Press the puppet’s lower face/body onto the glue.
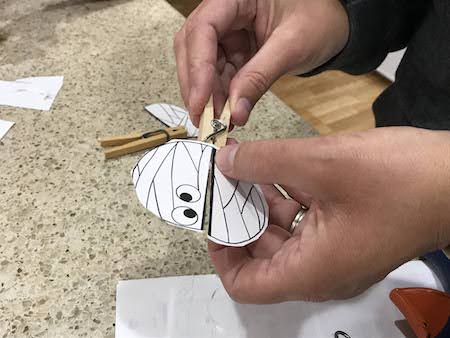
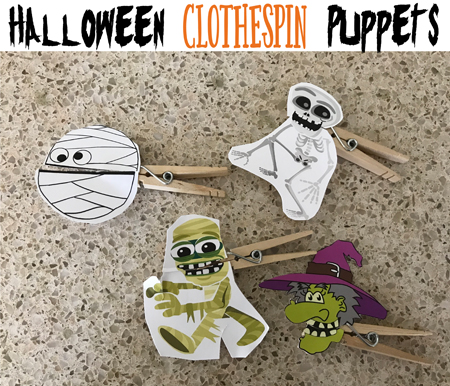
When the glue has cooled, your puppet is finished!
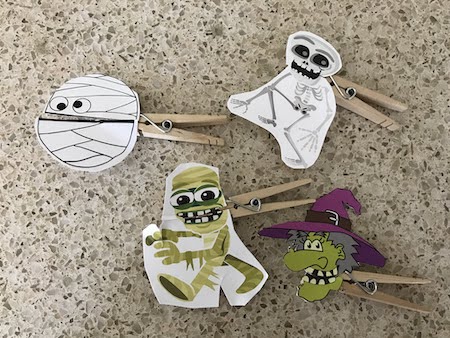
As my grandkids played with their puppets, they made low-pitched sounds like they were eating something. Nom. Nom. Nom. (It actually sounded more like a sick cow mooing.)
I should have filmed them so you could hear how they sounded but I didn’t think about it at the time. Rats.
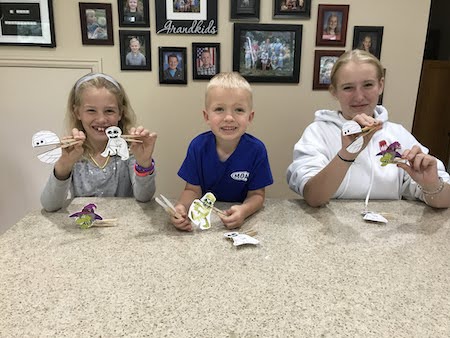
So, here they are sweetly showing their finished puppets.
