Do you have tween or teen granddaughters? Yes?
Sweet.
I have a fabulous craft that you can do with them. It’s easy. And, it’s inexpensive.
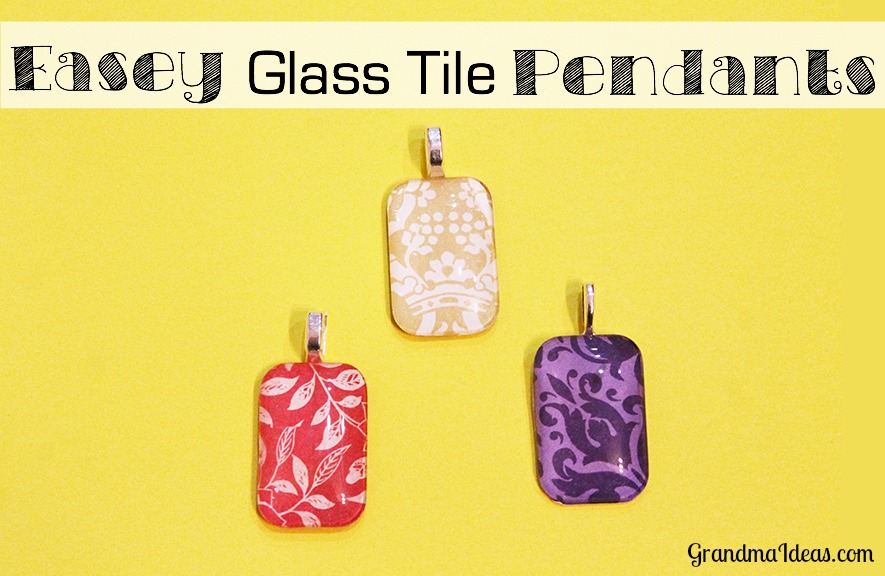
Wahoo! It’s making glass tile pendants.
Here’s what you need to make them:
- scrapbook paper
- scissors
- glass tile pendants
- jewelry bails
- Mod Podge
- paint brush
- super glue
Before I explain how to make them, let me tell you where I got the pendant and the jewelry bail. I had looked at our local craft store (read that to mean Michael’s and Hobby Lobby) and couldn’t find what I wanted. Rats!
I searched online and found exactly what I was looking for at Sun and Moon Craft Kits. (They are not an affiliate and I do not make any money whatsoever from them if you make a purchase through them. Rats, again!)
I got some puffy domino-sized pendants. They cost .50 cents each. I also got some rectangle ones that cost .40 cents each.
They have a really good selection of pendants and pendant trays if you want a different type of pendant. They have a heart shape pendant that would be fun for Valentine’s necklaces.
I got two different kinds of jewelry bails. One type cost .14 cents per piece and the other cost .16 cents. They have lots of different kinds to choose from.
Now for the directions . . .
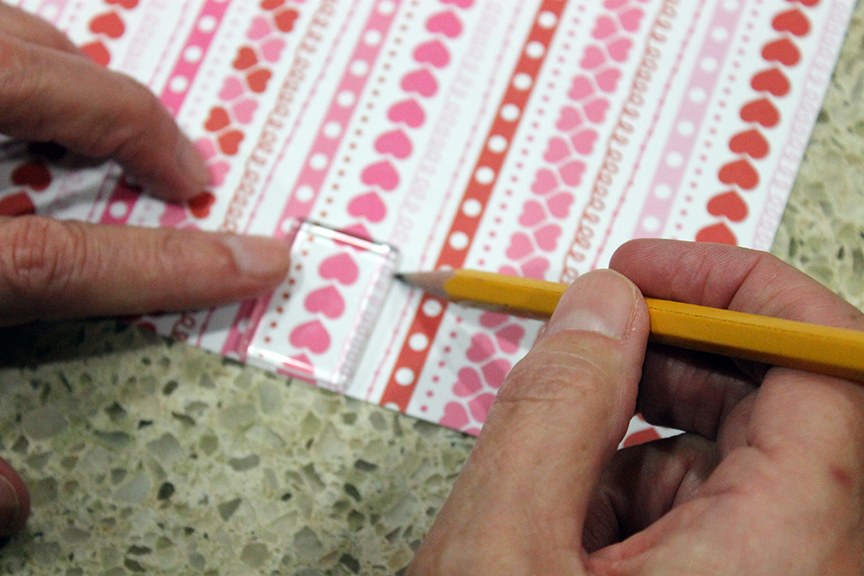
Place your pendant on your scrapbook paper and trace around the outside.
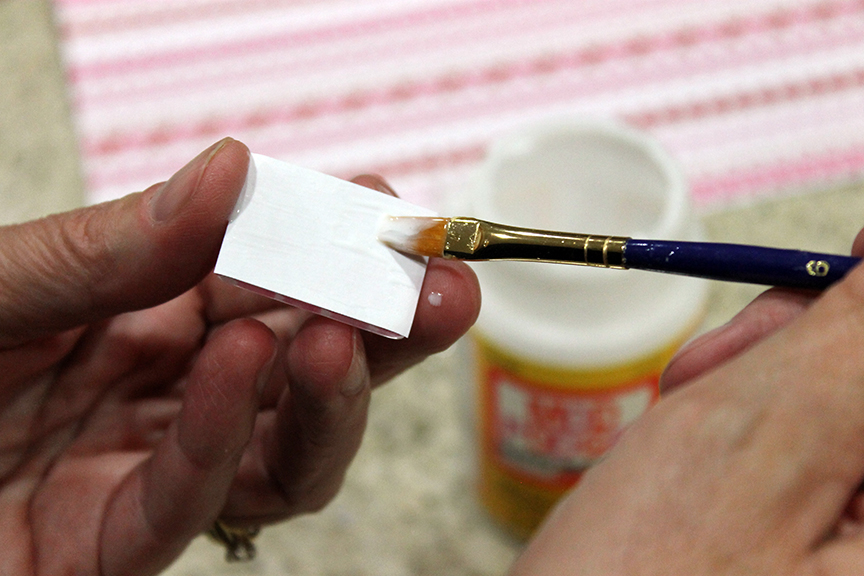
Cut out your shape. Then, apply a thin coat of Mod Podge on the back of the pendant.
Carefully place the paper face down on the Mod Podge. Gently press so that the paper is holding firm to the pendant. You might have to trim your paper to fit your pendant.
Put a coat of Mod Podge over the paper and let it dry. This will seal the paper and protect it so it won’t accidentally get scratched off or torn.
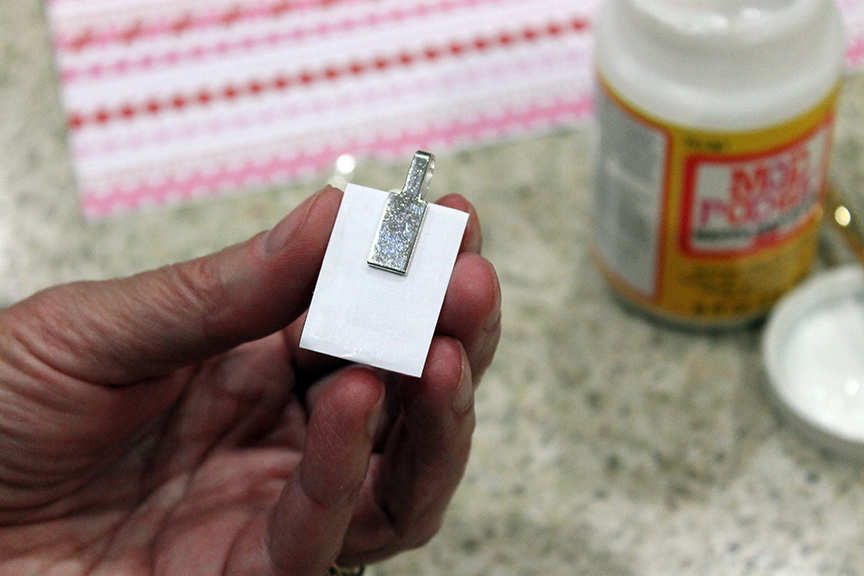
When the Mod Podge is completely dry, add a drop of super glue on the jewelry pendant. Place the bail on the back side of the pendant. Press firmly.
Let your pendant sit until the super glue is completely dry.
Ta da! you are finished.
Now let me tell you what I learned during the process. (It’s always good to learn from others’ experiences, huh?)
I got some special glue from Sun and Moon Craft Kits that they recommend to use when making the pendants. It came in a 4 ounce tube. I used it for the first two batches of pendants that I made.
Then I got thinking. (Thinking is good, isn’t it?)
I wondered what it would be like to use Mod Podge instead. I used Mod Podge on the next several pendants that I made. It worked splendid.
I figure that many of you crafty readers might already have Mod Podge on hand. Well, even if you don’t have Mod Podge on hand and you have to go out and buy it, Mod Podge is about the same price as the special glue but you get 4 times the amount of Mod Podge. So, in my humble opinion, Mod Podge is the way to go. You’ll get more for your money and then you’ll have it for other projects.
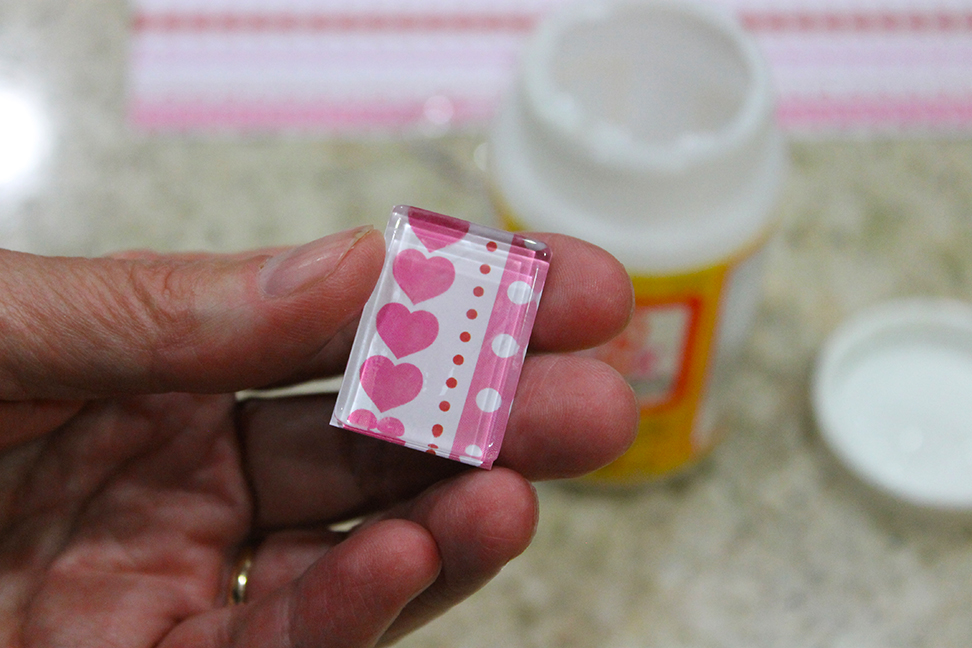
If you look closely at the pictures above and the pictures below, you might notice that the picture below with the pink heart paper is different than the one above. When I made it, I thought the placement of the paper looked okay. But it was rather humdrum.
I decided I’d rather have the hearts going at a diagonal. I’m a little wonky I guess . . .
So before I glued on the bail, I took off the paper, re-cut another piece, and glued it on. I absolutely love it that way. Wonky must speak to my heart . . .
These are so easy and inexpensive, your granddaughters can make a pendant for every holiday. They could make one to match every outfit. They could make some to give their friends on Valentine’s Day, for their birthday, for Christmas, or for just because.
Have a great time making them!






3 thoughts on “Let’s Make Pendants!”
Great DIY! Very informative, this was a great post to read and it so handy. Thanks and keep going.
These pendants are super cute! What fun they would be to make. I know my daughter would LOVE this project. 🙂 Please come share your blog posts over at the Home Matters Linky Party! We’d love to have you for a visit. The Door is OPEN. http://lifewithlorelai.com/2015/02/12/home-matters-linky-party-24/ 🙂
~Lorelai
Life With Lorelai
Awww… how cute and fun! I love this idea 🙂 Thanks for sharing your creativity with us. Hugs!