
Lately, I’ve been enchanted with making notebooks. Do you remember the library card notebook that I wrote about a while back? Or maybe the junk journal notebook?
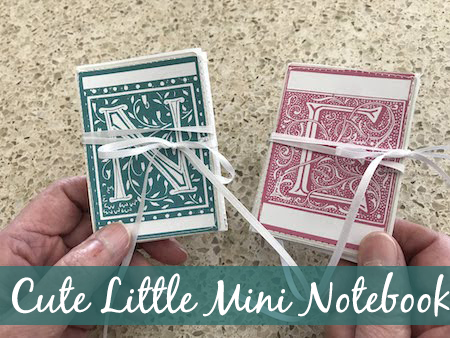
Today, I’ve got another one. One that uses playing cards. I got the idea from Lisa over at Fresh Vintage. I took her idea and put a twist to it and made the cutest little mini notebook that you ever did see!
This notebook is easy to make and very inexpensive. And that’s my kind of craft.
Here are the supplies that you need:
- 8 cards from an old deck of cards
- glue stick
- scissors
- 4 pieces of white copy paper
- my free printables
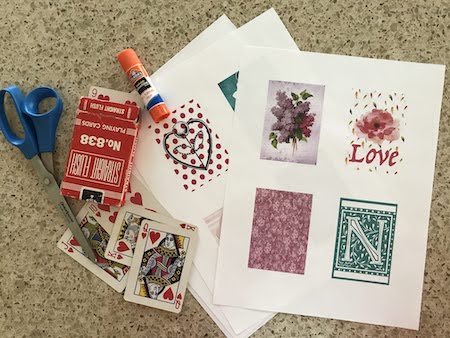
Let’s talk about cards for a minute. I used an old deck of playing cards that I had hanging around the house. Dingy. Very blah.
Do you have an old deck? One missing a card or two perhaps? If not, get a deck from your local dollar store. You don’t need anything fancy because you won’t be seeing the cards. They just make your notebook firm.
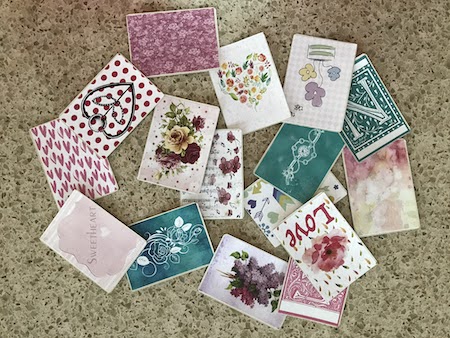
I have four free printable pages that you can choose from. Each page has 4 images on it. You will be making 8 pages in this mini notebook so you’ll need 8 images.
Click on the title of the page for the printable PDF that you can download and print.
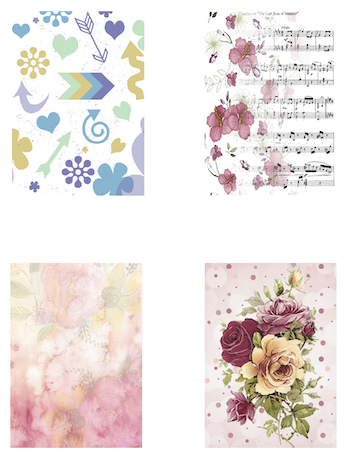
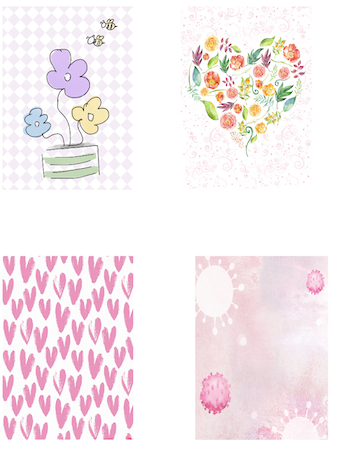
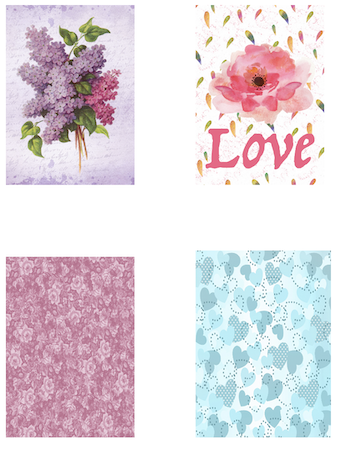
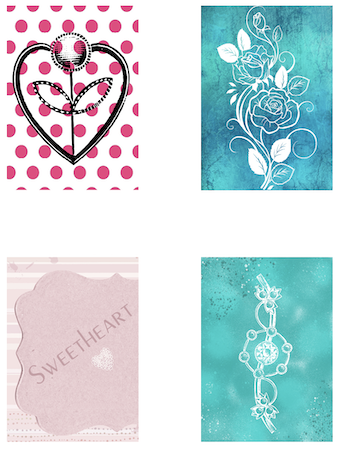
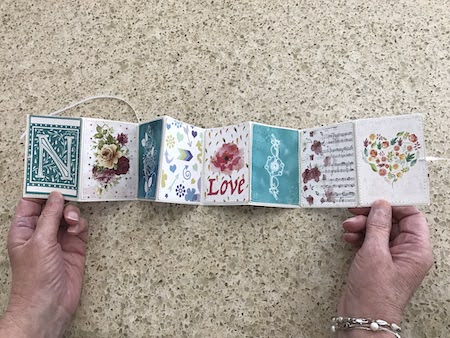
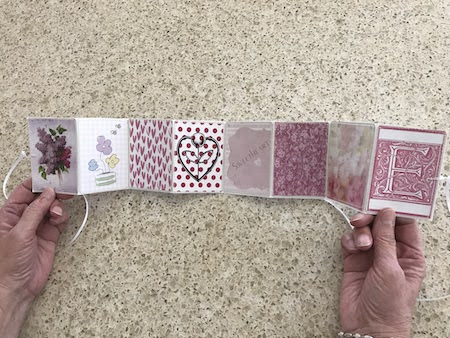
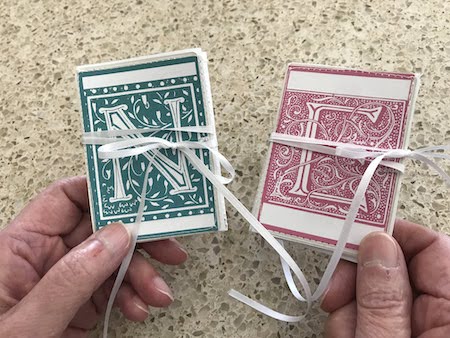
I made 2 mini notebooks to give to two of my granddaughters. One of them loves the color teal and the other one loves pink. So the graphics that I created fit with those color schemes.
If you want different graphics than what I have here, search Pinterest to find some to your liking.
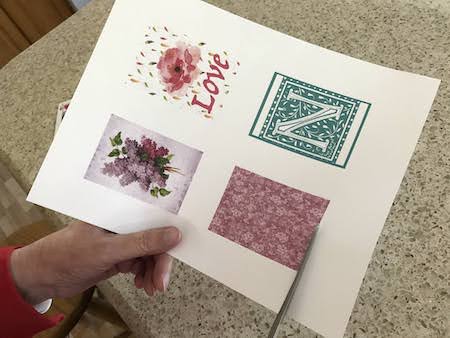
After you have printed out the pages that you want, cut out the graphics.
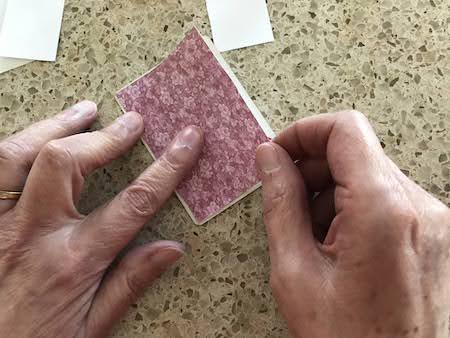
Spread glue all over one side of your card.

Carefully place a graphic on the card. Then press down firmly to make sure the graphic is glued to the card. Make sure you don’t have any bubbles under the graphic.
Glue a graphic on 8 of your cards. (I have 16 here because that’s how many I need for the 2 notebooks.)
The cards will probably not be flat. So, place a heavy book over them while the glue dries.
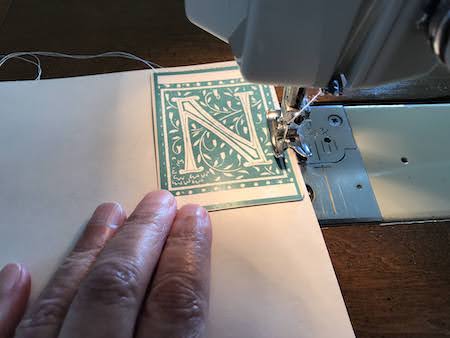
Now comes the really fun part! With the graphic face up, place one card over one corner of a piece of copy paper. With a sewing machine, stitch all around the card. Trim the thread.
Leave a teeny space and sew on your next card with the graphic side face up. Keep sewing on cards until you have 4 sewn to one piece of copy paper.
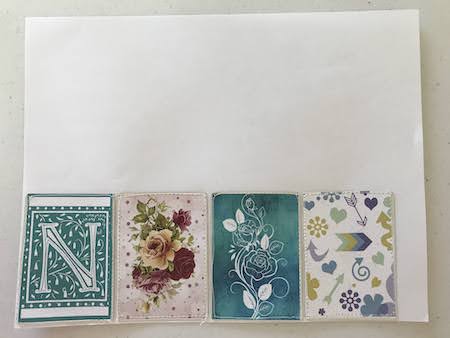
Trim the excess copy paper from the top of your cards.
Carefully fan fold the cards. Fan fold the extra paper to the side of the last card.
Put glue on the back side of the extra paper and position it over the corner of another piece of copy paper. Press and hold while it’s drying.

With the graphic side face up, place a card on top of the little flap that you glued to the second piece of paper. Put the card close to the fold. Then stitch around that card. (Sorry! But I don’t have a picture of this step.)
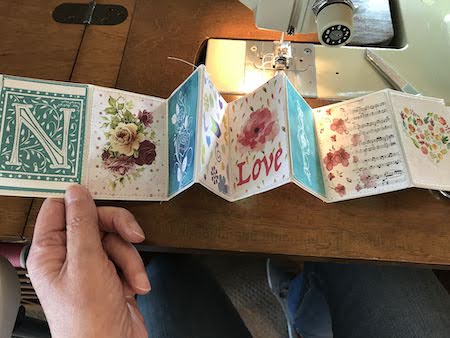
Continue sewing on the rest of the cards. Trim away all excess paper and fan fold the cards on the second paper.
You will now have a long strip of cards sewn together.
I cut some really narrow ribbon and sewed a piece to both ends. The ribbon will be tied to keep the notebook shut. (It’s hard to see the ribbon here. I should have held it out so you could see it easier. You can see it a bit better on the pink notebook.)
Since the back side of the card is now covered with white copy paper, that is where your grandkids can write, take notes, or draw pictures. (Rats! I didn’t get a picture of the back side before I mailed these off to my granddaughters . . . )
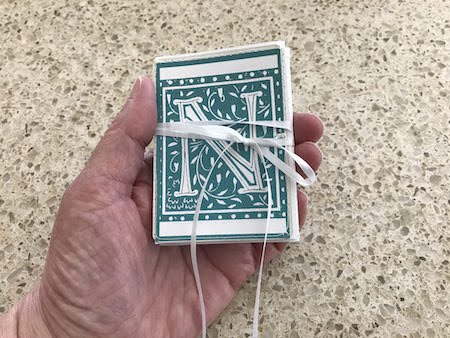
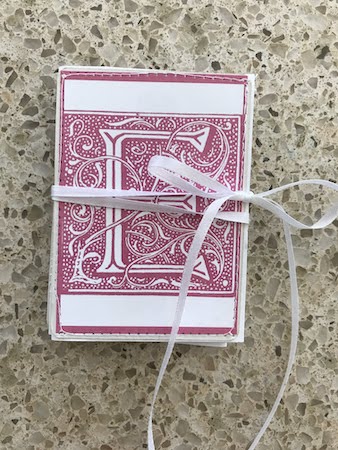
I folded up the notebook and wrapped and tied the ribbon around it. (If you don’t want to sew on a ribbon to keep the notebook shut, you could use a hair elastic — one that is coated so it wouldn’t tear the sides of your notebook.)
Isn’t this the cutest little mini notebook ever? It just fits in the palm of your hand.
My granddaughters absolutely loved them!


4 thoughts on “Cute Little Mini Notebook”
Shame on me… I had not viewed all of the projects you illustrated before I wrote my first note!! The book marks are extraordinary and the mini-books are adorable! When I was a Crossing Guard a number of years ago, I designed and gave out bookmarks to all of the kids who crossed at my corner at the end of the school year. They were usually themed to remind them to read during the summer. I wish I still had all of them to share. You are performing such a great service for families everywhere!
I’m glad you liked the mini-books, too. They are so fun and my grandkids love them. I applaud your effort in giving kids bookmarks that encouraged them to read over the summer. That’s awesome!
I love these! You did an awesome job.
I know the kids will enjoy them 🙂 Now you inspired me.
xo Lisa S
I’m so glad to know I inspired you! Maybe you can make some, too.