
Christmas time is a time of family parties. Wahoo! Let’s hear it for parties!
I’ve got a craft that you can do with your grandkids — and even EVERY family member — at that party. It’s super inexpensive. (One of my requirements for crafts.) It’s super easy. (Another requirement.) Yet it can be as elaborate — or not — depending on the person doing the craft.
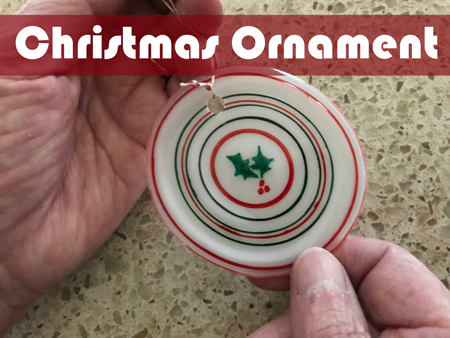
Best of all, this is novel. I predict that your grandkids haven’t done it before. It’s making a Christmas tree ornament using plastic drinking cups!
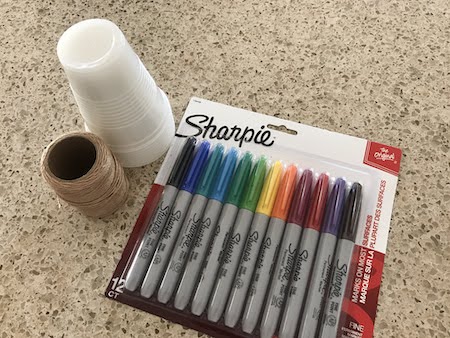
This list of things needed is super short. As in you’ll probably have almost every single item already on hand. Ready for the list?
- Sharpie markers
- Plastic drinking cups
- Jute, fabric ribbon, or Christmas curling ribbon
First, lemme talk a wee bit about the supplies.
Markers. You don’t need to use the Sharpie marker brand. You can use any brand that you would like. But there is a small caveat. They just need to be permanent markers. I had Sharpies so that’s what I used.
I used fine point markers. If you want to color in a big section all one color (like I did at times), a wider marker would be so much easier. It might be nice to have fine point markers and wide ones on hand.
Oh. And make sure they are fairly new. The color of older markers aren’t as brilliant so the color on your ornaments will be rather anemic. And nobody wants anemic Christmas ornaments!
Cups. Make sure that the cups that you use have the number 6 on the bottom. This type of plastic works the best.
Jute. In the picture that shows the needed supplies, I showed brown jute. That was what I had on hand. But when I went to use it, I decided I didn’t like it. Call me wishy-washy if you want. I decided to use a red and white cotton bakers twine. I thought that was more festive in color than brown. You could use fabric ribbon or curling ribbon depending on your preference.
Now you’re all set to make your ornament. Let’s get going.
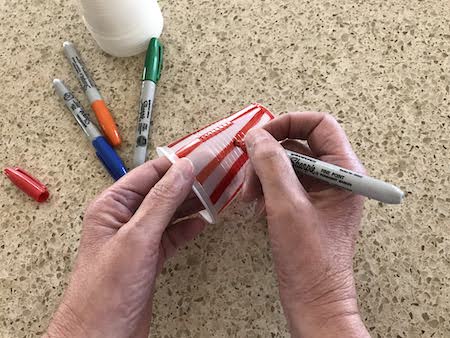
Draw a design on a cup. Any design that warms the cockles of your heart. Young grandchildren might do simple designs like the ones I did. Older ones might do more intricate ones. Whatever floats their boat.
When you’re finished, it’s time to bake your cup.
Before you cook, I suggest you bake 1 or 2 (or 5 or 6) cups that aren’t decorated to see how they react in your oven. You don’t want to spend time coloring the cup only to have it melt down weird.
I baked mine in my oven at 350 degrees for one-and-a-half minutes. My stove is gas and I put the rack on the second level down. If you have an electric oven, you might need to adjust the amount of time you bake your cups.
You might want to use your oven’s broiler. You might want to have your oven rack higher or lower. It’s totally up to you. Just make sure that you test, test, test with undecorated cups until you’re satisfied with how cups melt in your oven.
Oh. One last thing.
As soon as I took the melted cup out of my oven, I used a sauce pan to press the cup down to make sure it was flat. Sometime, the rim doesn’t flatten down all the way.
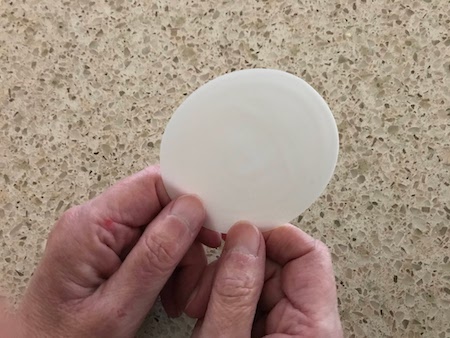
This is what an undecorated cup looks like after it’s cooked and cool.
Now let me show you some that I made and some things I learned.
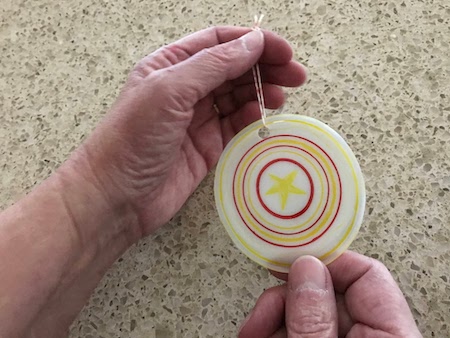
I used yellow and red markers on this cup. Yellow didn’t show up very good. Sigh. If you want to make a yellow star, I’ll show you in a second how you can make it show up better.
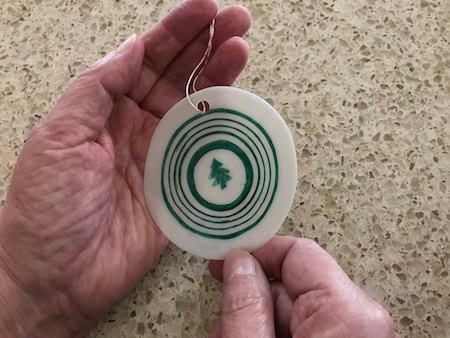
I think that the tree turned out pretty nifty.
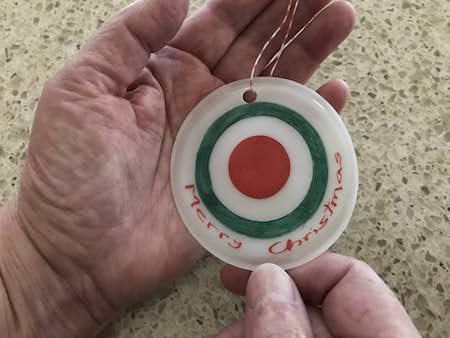
I wrote Merry Christmas on one cup. I wanted to see how the writing would turn out. I think it looks rather scrawny. Next time, I would make the letters chunky, thicker. (Chunky is what happens a lot at this time of year — especially to our waists — don’t you think?)
This makes me think of a bull’s eye — which was NOT my intention . . .
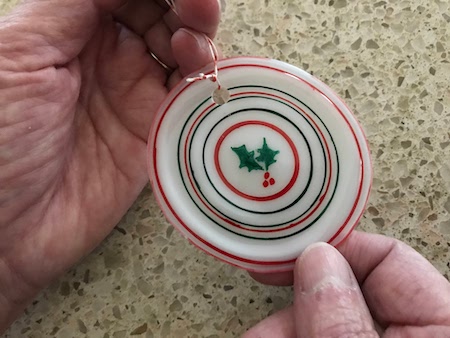
This holly ornament was my favorite.
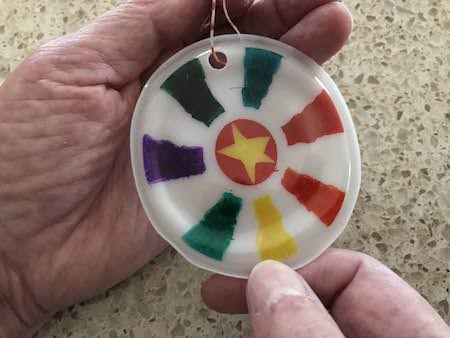
This next one turned out way colorful. This shows how to make a yellow star stand out. Coloring around a star with a different color marker delineates the star making it stand out better.
And now it’s time to hang them on the tree.


4 thoughts on “Novel Christmas Tree Ornaments”
Wonderful collection! Love them all. Thanks for sharing.
I ??LOVE?? this! It hank you!
Sheesh. Those were hearts not question marks. I do LOVE it. Thanks for sharing in detail how to do it.
Ah . . . technology! Don’t we love it. It’s probably the WordPress theme that I’m using that didn’t recognize your hearts. But I certainly recognize them!