
I’ve thought about making a Christmas gnome for quite some time.
And thought about it some more.
And even more.
I finally decided to stop procrastinating. “Just do it!” I told myself.
All righty then.
I think what held me back was the thought of making a gnome that was big-ish. I’d seen some on the Internet that were made out of adult-sized socks. It looked like those would be hard to make. And time consuming. (Call me lazy, I guess . . . )
But. Small is good, isn’t it?
Of course!
One made out of a little sock. A kid’s sock.
That thought made me happy. Happy indeed.
So voilá! I could make a mini gnome!
Here’s what you’ll need:
- one little kid’s ankle sock
- string mop head
- Santa hat headband
- cotton ball
- rice
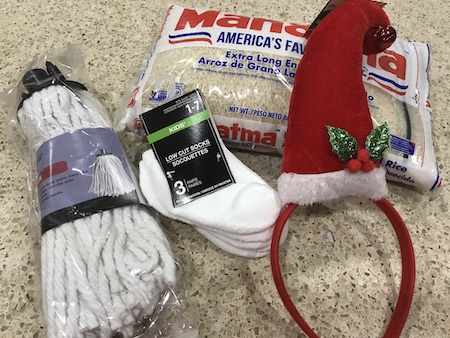
I got all of these things at my local dollar store. Well, except for the rice. It was just in my pantry. And the cotton ball. That was in my bathroom.
The total cost for my gnome was $3. Sweet.
Now. Let’s get started.
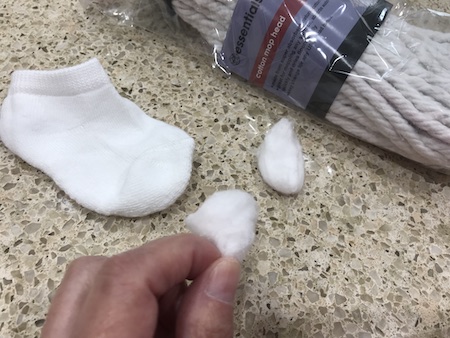
First, cut the cotton ball in half.
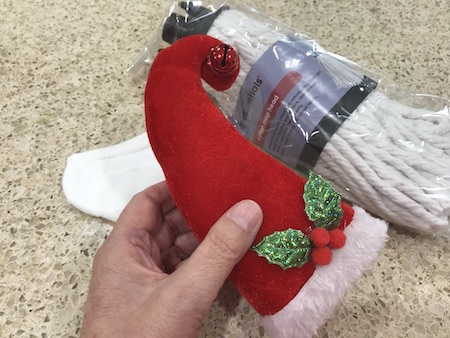
Remove the Santa hat from the headband so that you have just the hat.
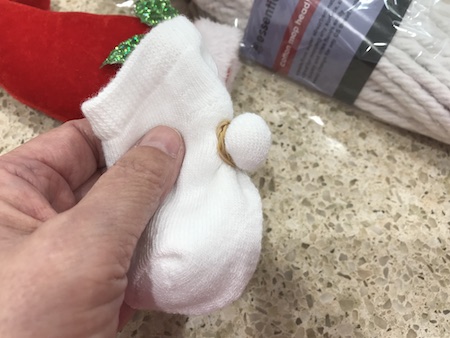
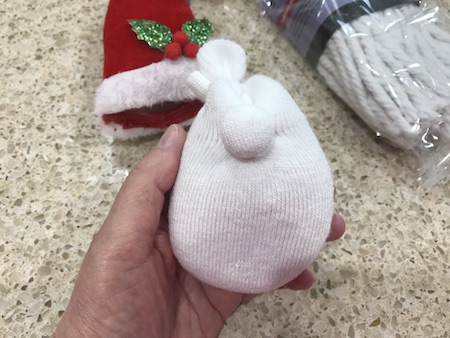
Put the cotton ball in the sock close to the heal and wrap an elastic band around the cotton ball. This forms the nose.
Then fill the sock with rice. Wrap a rubber band around the top of the sock so that the rice won’t fall out.
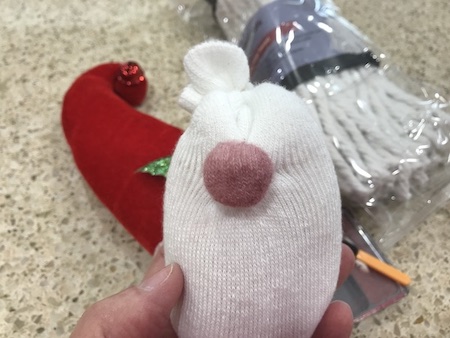
Brush a little bit of your blush makeup onto the nose. (This is so the nose can be easily seen amid the beard.)
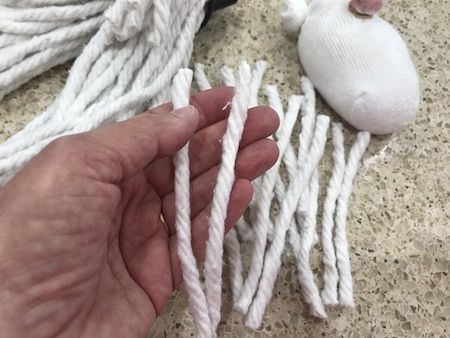
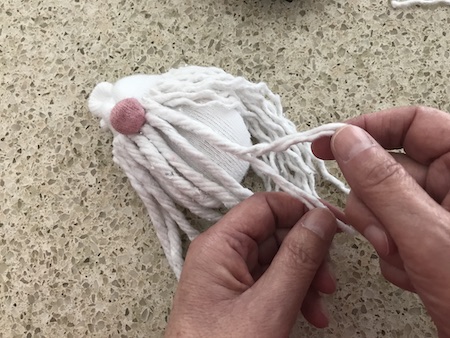
Cut some of the strings off from the mop head.
With a hot glue gun, squirt some hot glue along the top of the gnome’s cheek area and under his nose. Quickly press the mop strings into the hot glue.
Keep glueing on mop strands until the beard is nice and thick. (I added more to the beard after this picture was taken.)
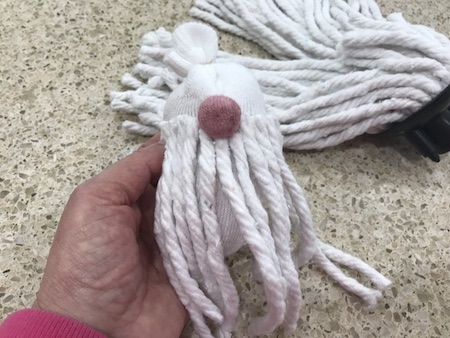
Now comes the fun part! Unbraid the mop strands, this will add more thickness to the beard and make it curly. Curly is cute!
I had to take out some of the stuffing that was inside the hat so that it would fit over the top of the gnome’s head.
Then I hot glued the hat on.
(If you can’t find a Santa’s hat like this, you could cut triangles of felt or fabric and sew them together to make a hat. Or you could use a colorful sock for the hat.)
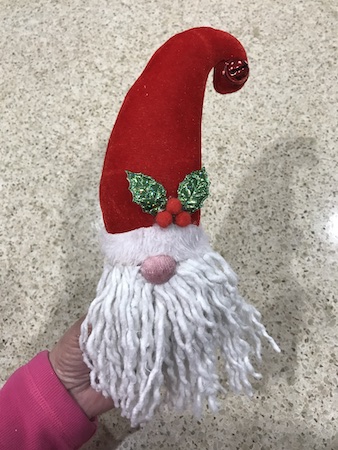
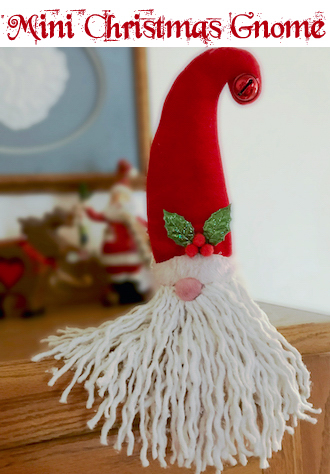
Ta da! My mini Christmas gnome was finished!
Isn’t he just the sweetest?
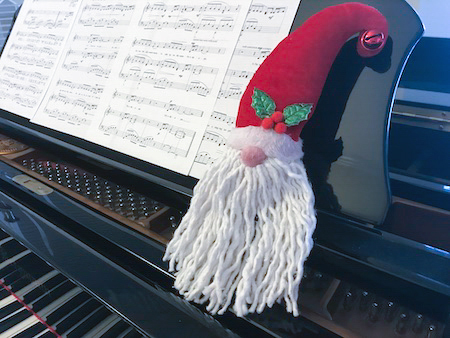
This little guy just had to sit on the piano while I played Christmas carols.
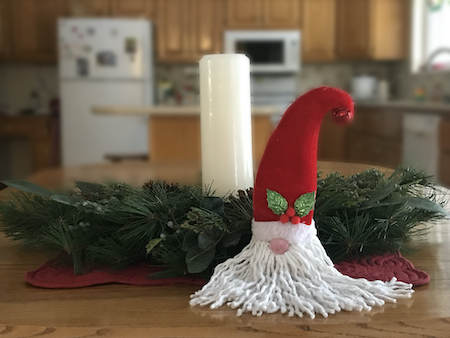
He also sat on our kitchen table for a while.
He even sat on our curio cabinet.
Busy little guy!


2 thoughts on “Mini Christmas Gnome”
So cute! I will have to make one for next year :).
You don’t have to wait until Christmas. You can make one for ‘just because’ or for another holiday. I plan on making one for Valentine’s Day so keep your eyes open!