I’ve got a grandmother friend who tells me she can’t do crafts with her grandkids. She says she lacks talent. I keep telling her that the crafts that I do with mine (and share here) do not take any talent whatsoever. They are not difficult. They are easy — very easy. If I can do them, other grandmothers can do them.
If you’ve had similar thoughts, banish them! They don’t belong here!
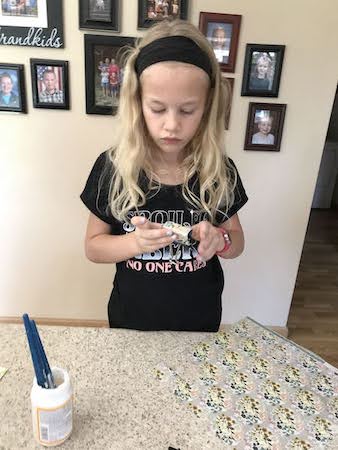
For instance, take this photo holder craft. Almost everyone can draw a line with a ruler, cut with scissors, and make a swipe with a Mod Podge laden paintbrush (if you don’t take toddlers into consideration).
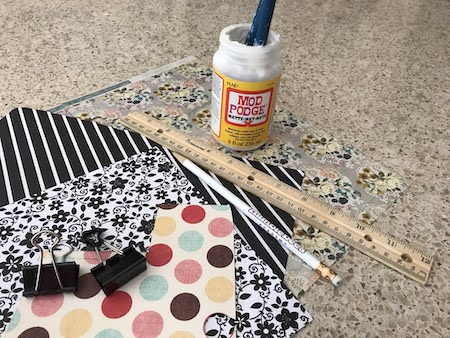
So let’s take a look at this photo holder craft. Here are the supplies that you’ll need:
- scrapbook paper
- binder clips
- scissors
- ruler
- pencil
- Mod Podge
- paint brush
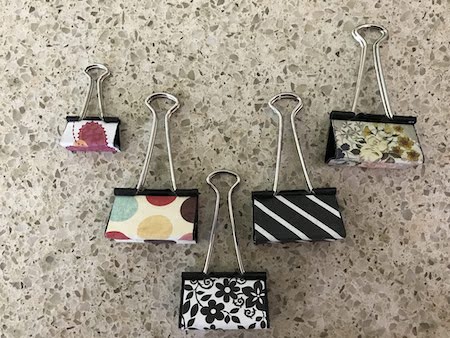
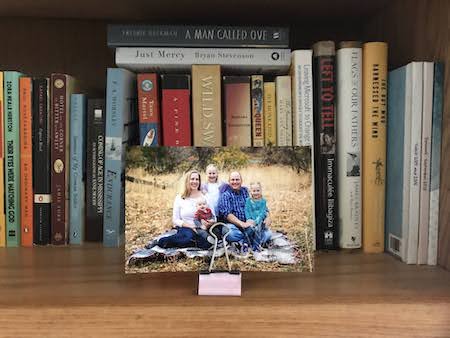
Let’s talk about binder clips for a moment. I already had clips that were 1.25 inches wide. I bought some that were 2 inches wide. I found that the 2 inch ones were better for holding pictures that were 4″ x 6″ and 5″ x 7″. The smaller sized clips worked great for smaller pictures.
One of my clips had a soft black grip meaning the grip end was rubber coated. That could be good if a silver grip would detract from the picture it was holding.
Okay. Let me show you just how easy it is to make these photo holders!
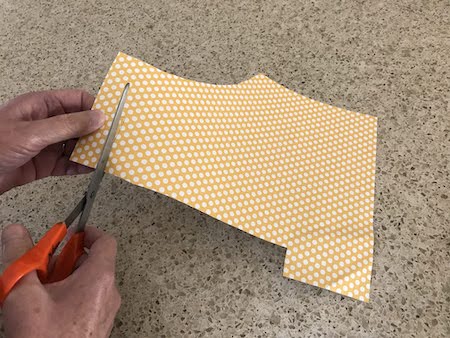
First, draw a rectangle on a piece of scratch paper. It should be the width of the clip. Make the length about 2 1/2 inches long. Cut out the rectangle.
Hold it around your clip to determine exactly how long the rectangle should be. Then, draw a rectangle with those measurements on your scrapbook paper.
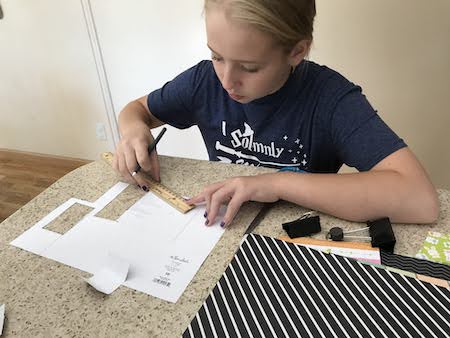
Cut out that rectangle.
Spread Mod Podge on the binder clip.
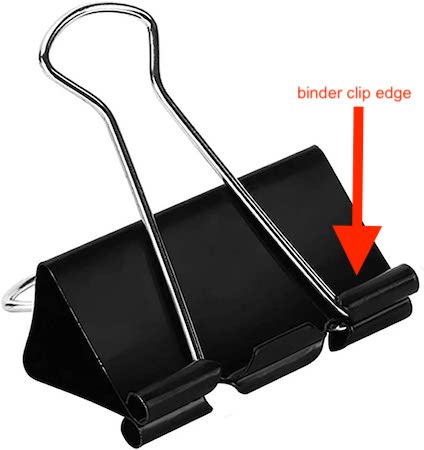
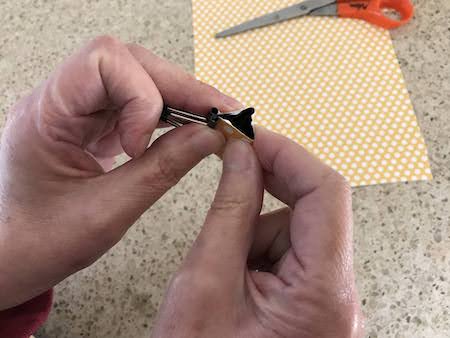
Wrap the scrapbook paper rectangle around the clip making sure to tuck the ends of the paper under the edge of the binder clip.
Hold the paper for a few minutes so it will stick to the clip — especially along the curved bottom of the clip.
(Waiting for Mod Podge to dry is the hardest part!)
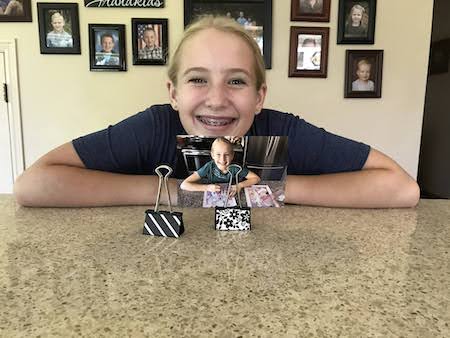
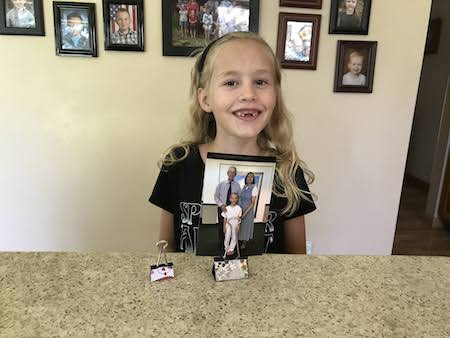
When the Mod Podge is dry, slide a picture between the binder clip grips and display your picture!
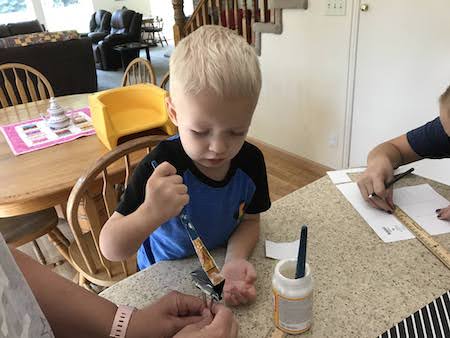
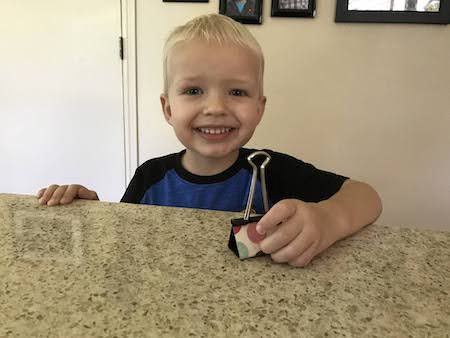
I thought that Isaac would rather play than do crafts with us. I was wrong! (Even though he’s only 3 1/2 years old, he thinks he can do the same things his older sisters can do . . .)
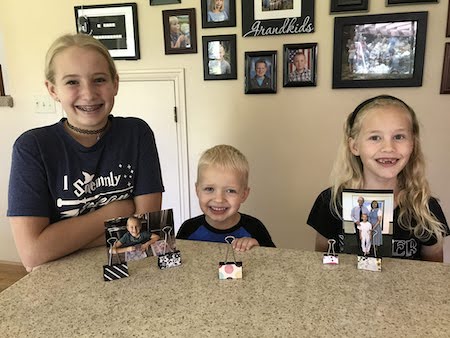
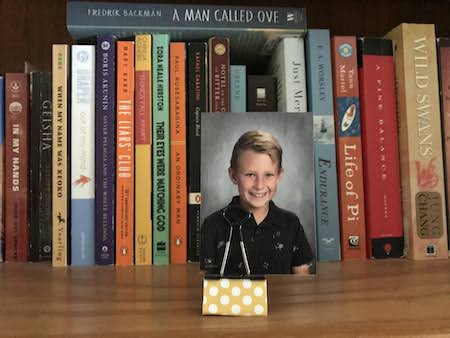
I printed up pictures for my granddaughters to put in their photo holder but not one for me. So, I had to use an old picture!
I thought that I could use a binder clip to hold a small school picture of my grandson. But because the picture was so small the hand grip part was too long and would have covered the lower part of my grandson’s face. So I placed his picture off-center a bit. (This is the binder clip with black rubber coating on the grips.)
It’s good to keep that in mind when selecting a picture to display in your photo holder!