
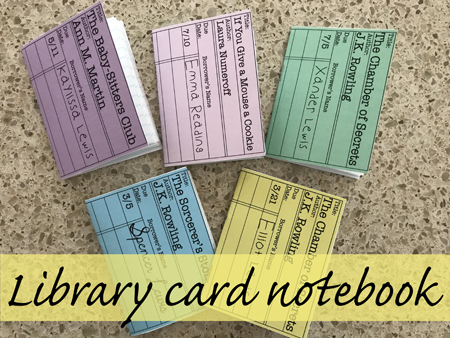
I have a granddaughter that LOVES notebooks. She loves writing in them. Drawing in them. Playing with them. Give her a notebook and she’s in seventh heaven!
After making the junk journal notebooks (which I gave one to that notebook lovin’ granddaughter), I thought I’d make another notebook. A different kind of notebook. A smaller one. One that looked like a library card! (One wonders if they have library cards now in this modern, electronic age . . .)
A library card notebook is super easy to make. And inexpensive. Yipee!
Here’s what you’ll need:
- white card stock
- scissors
- lined school paper
- a stapler
- my free library card printables
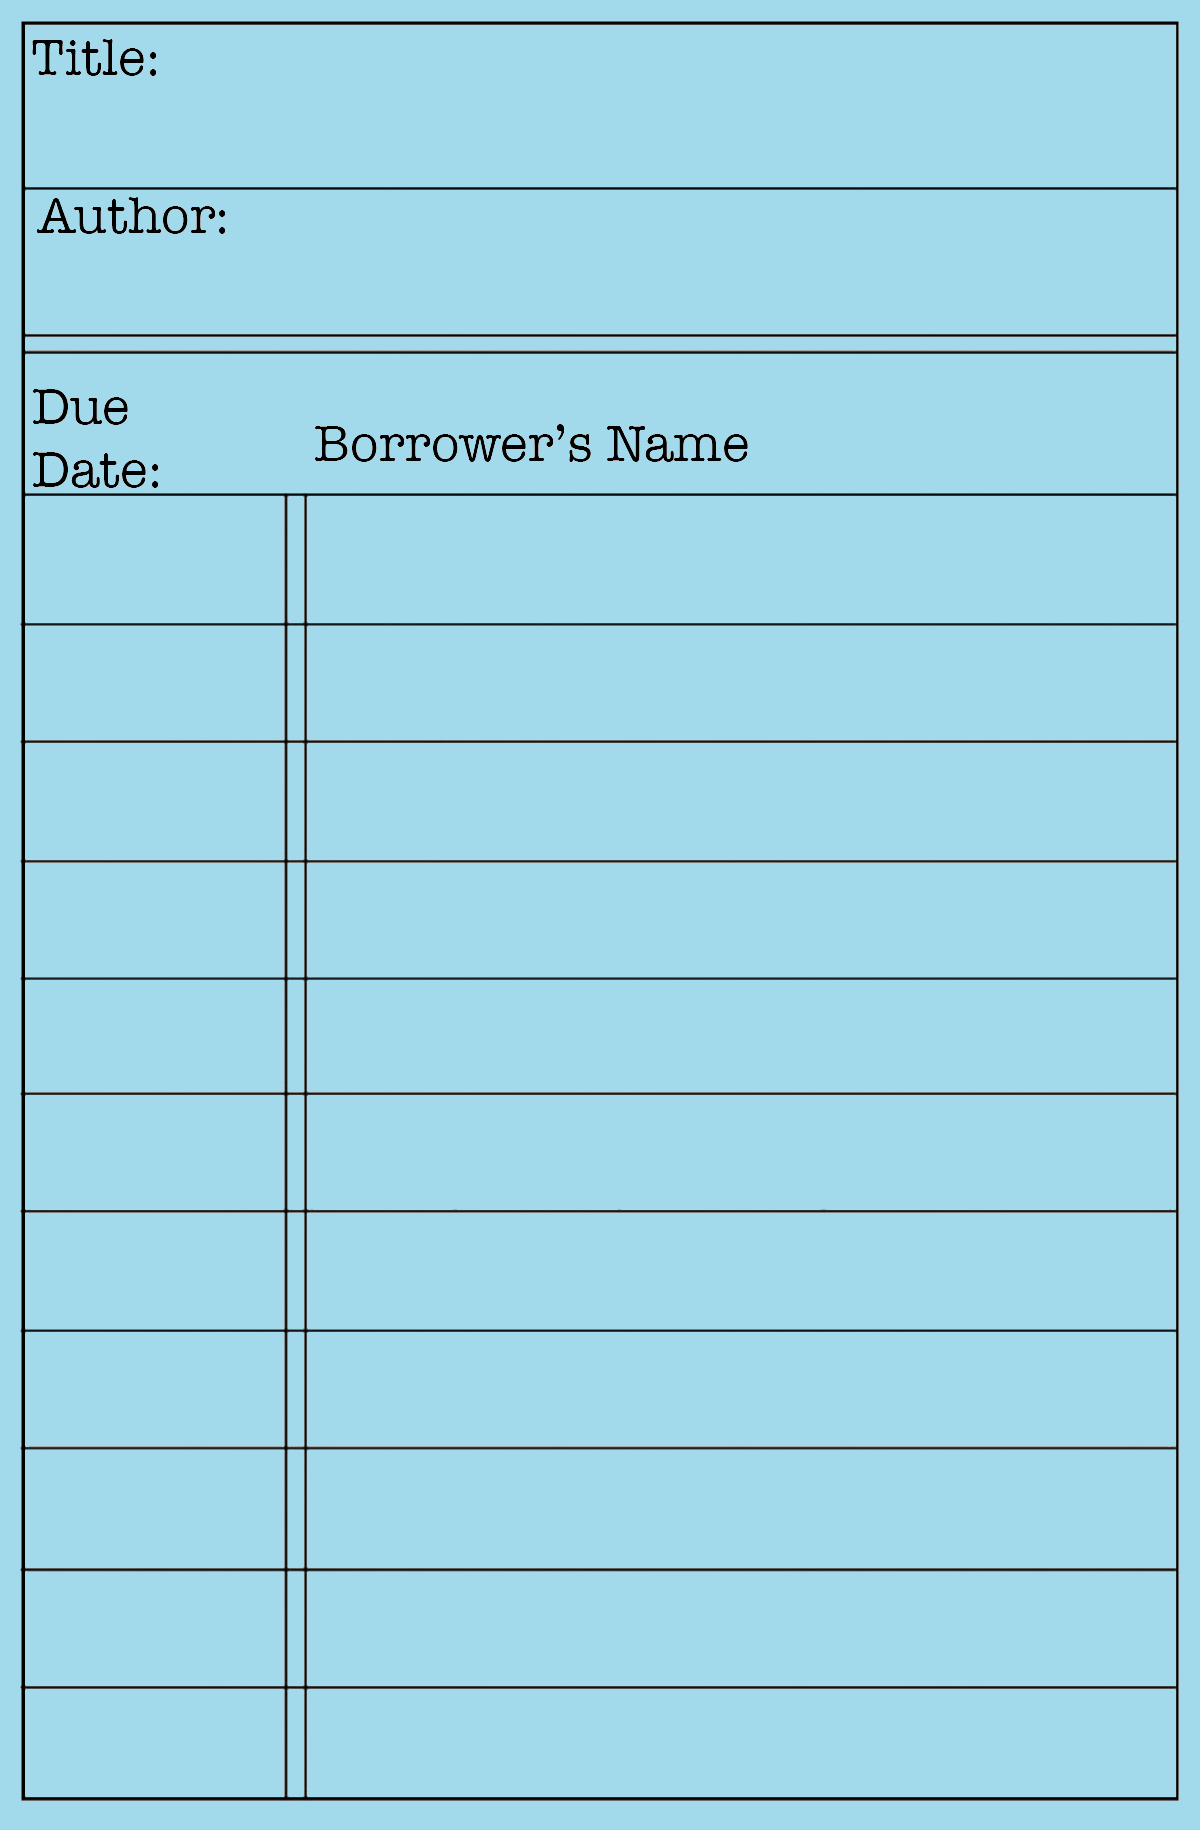
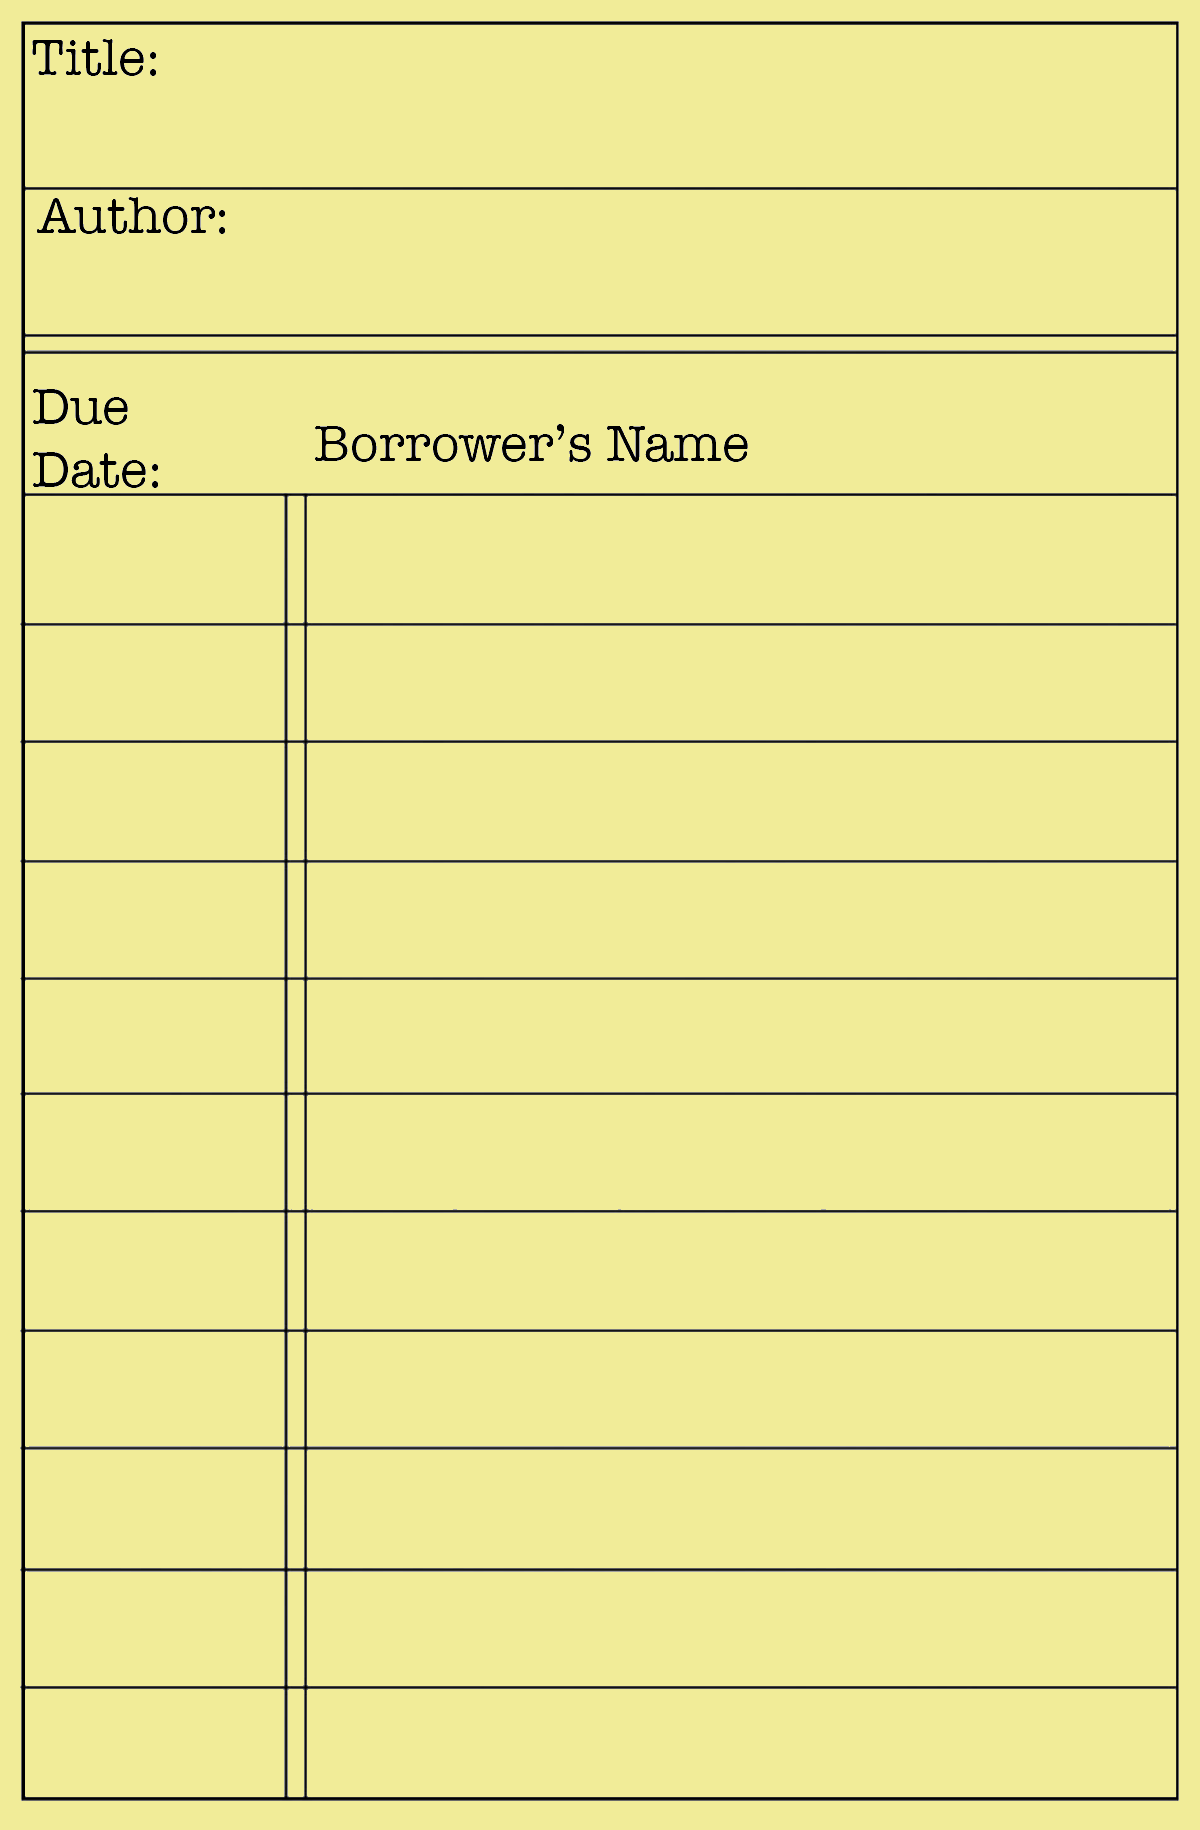
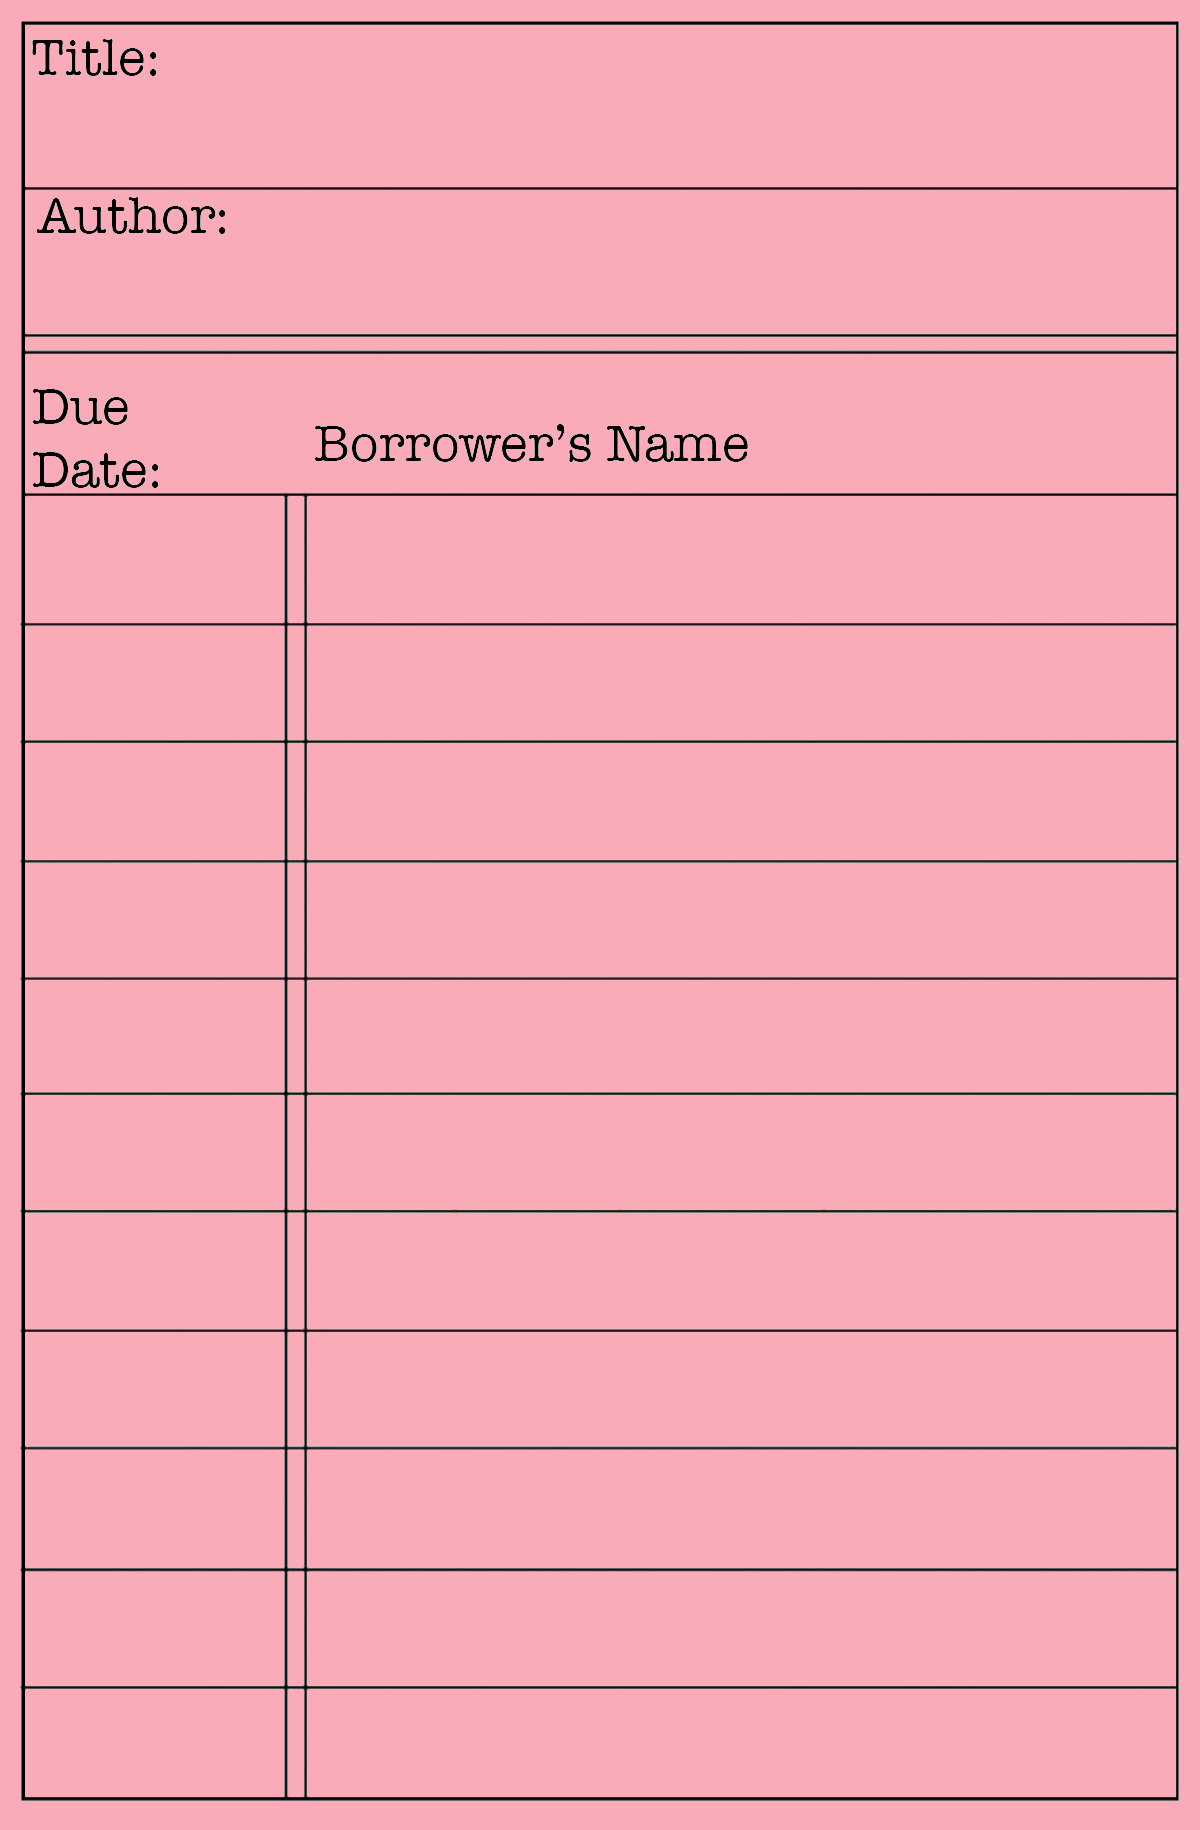
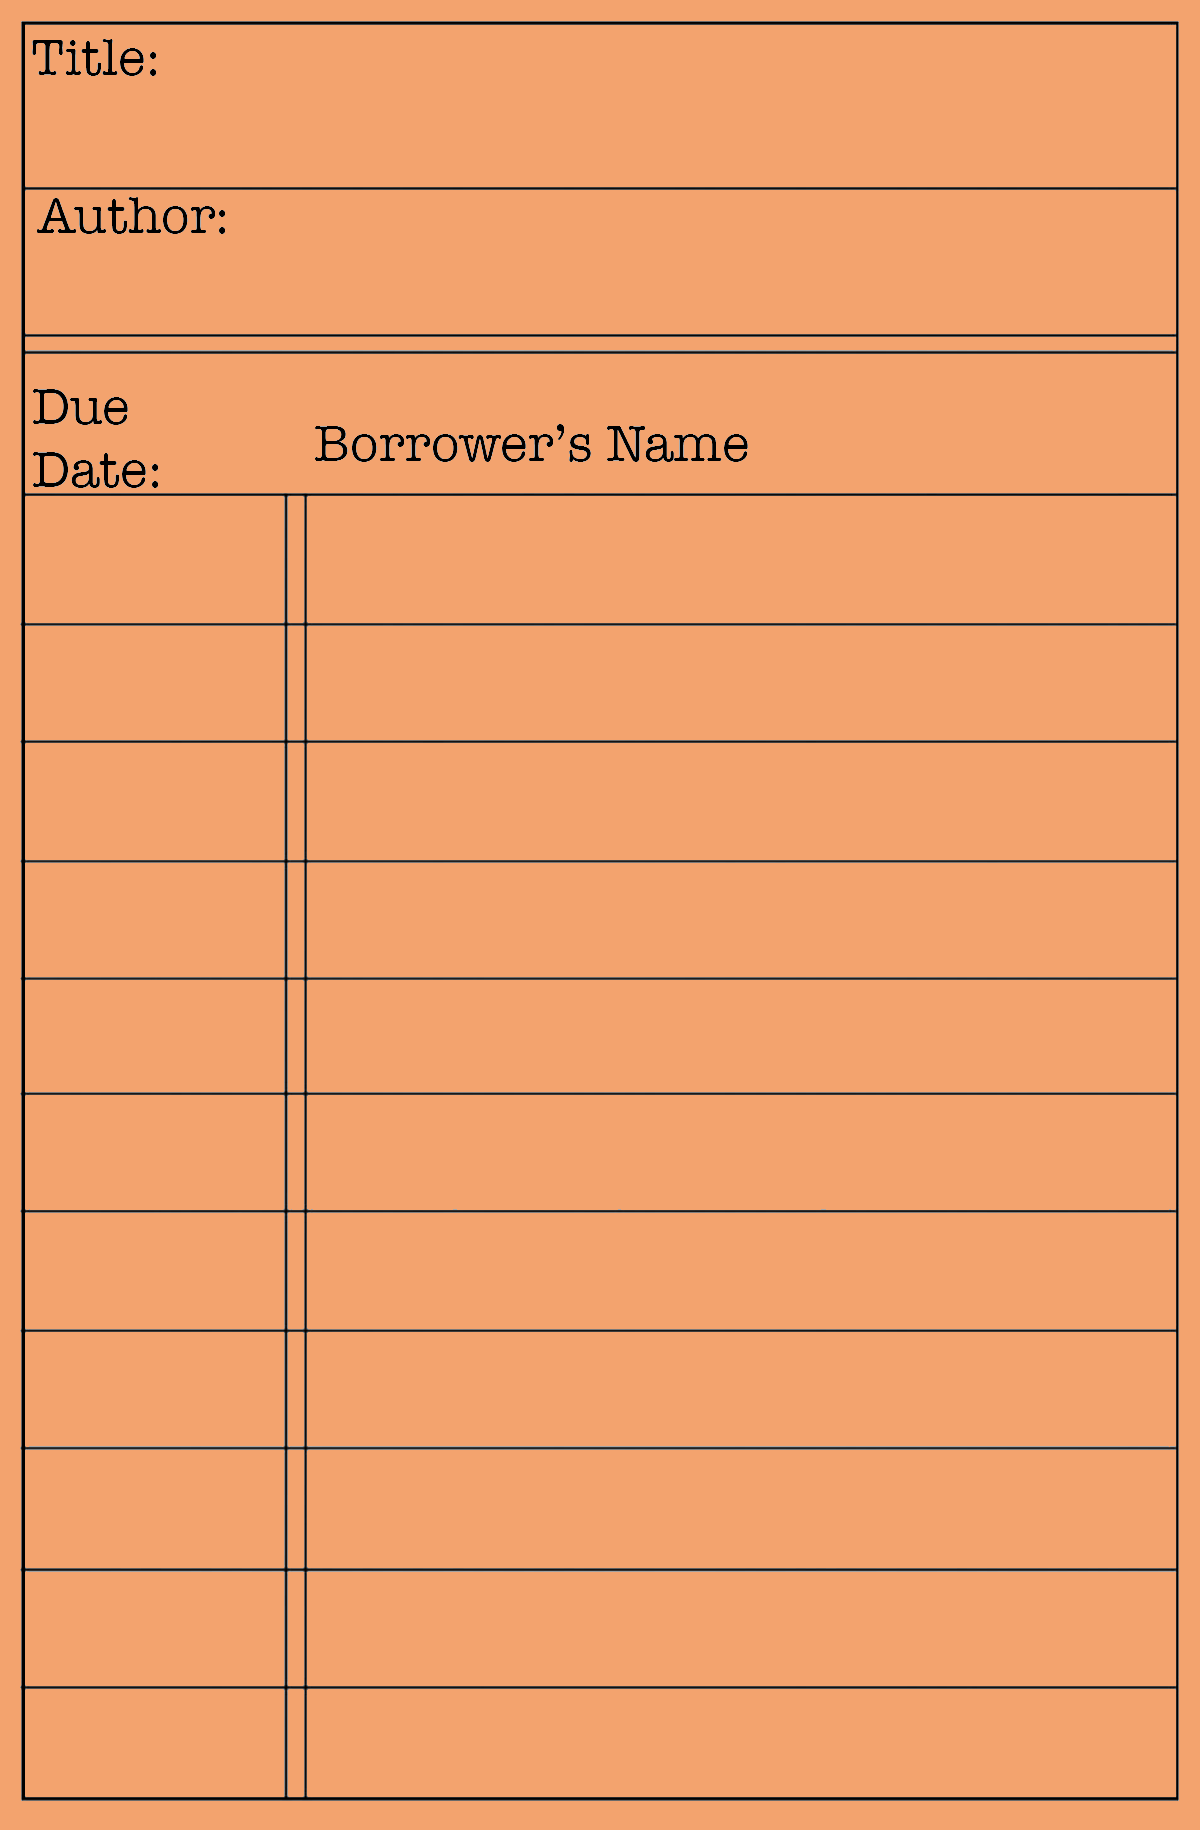
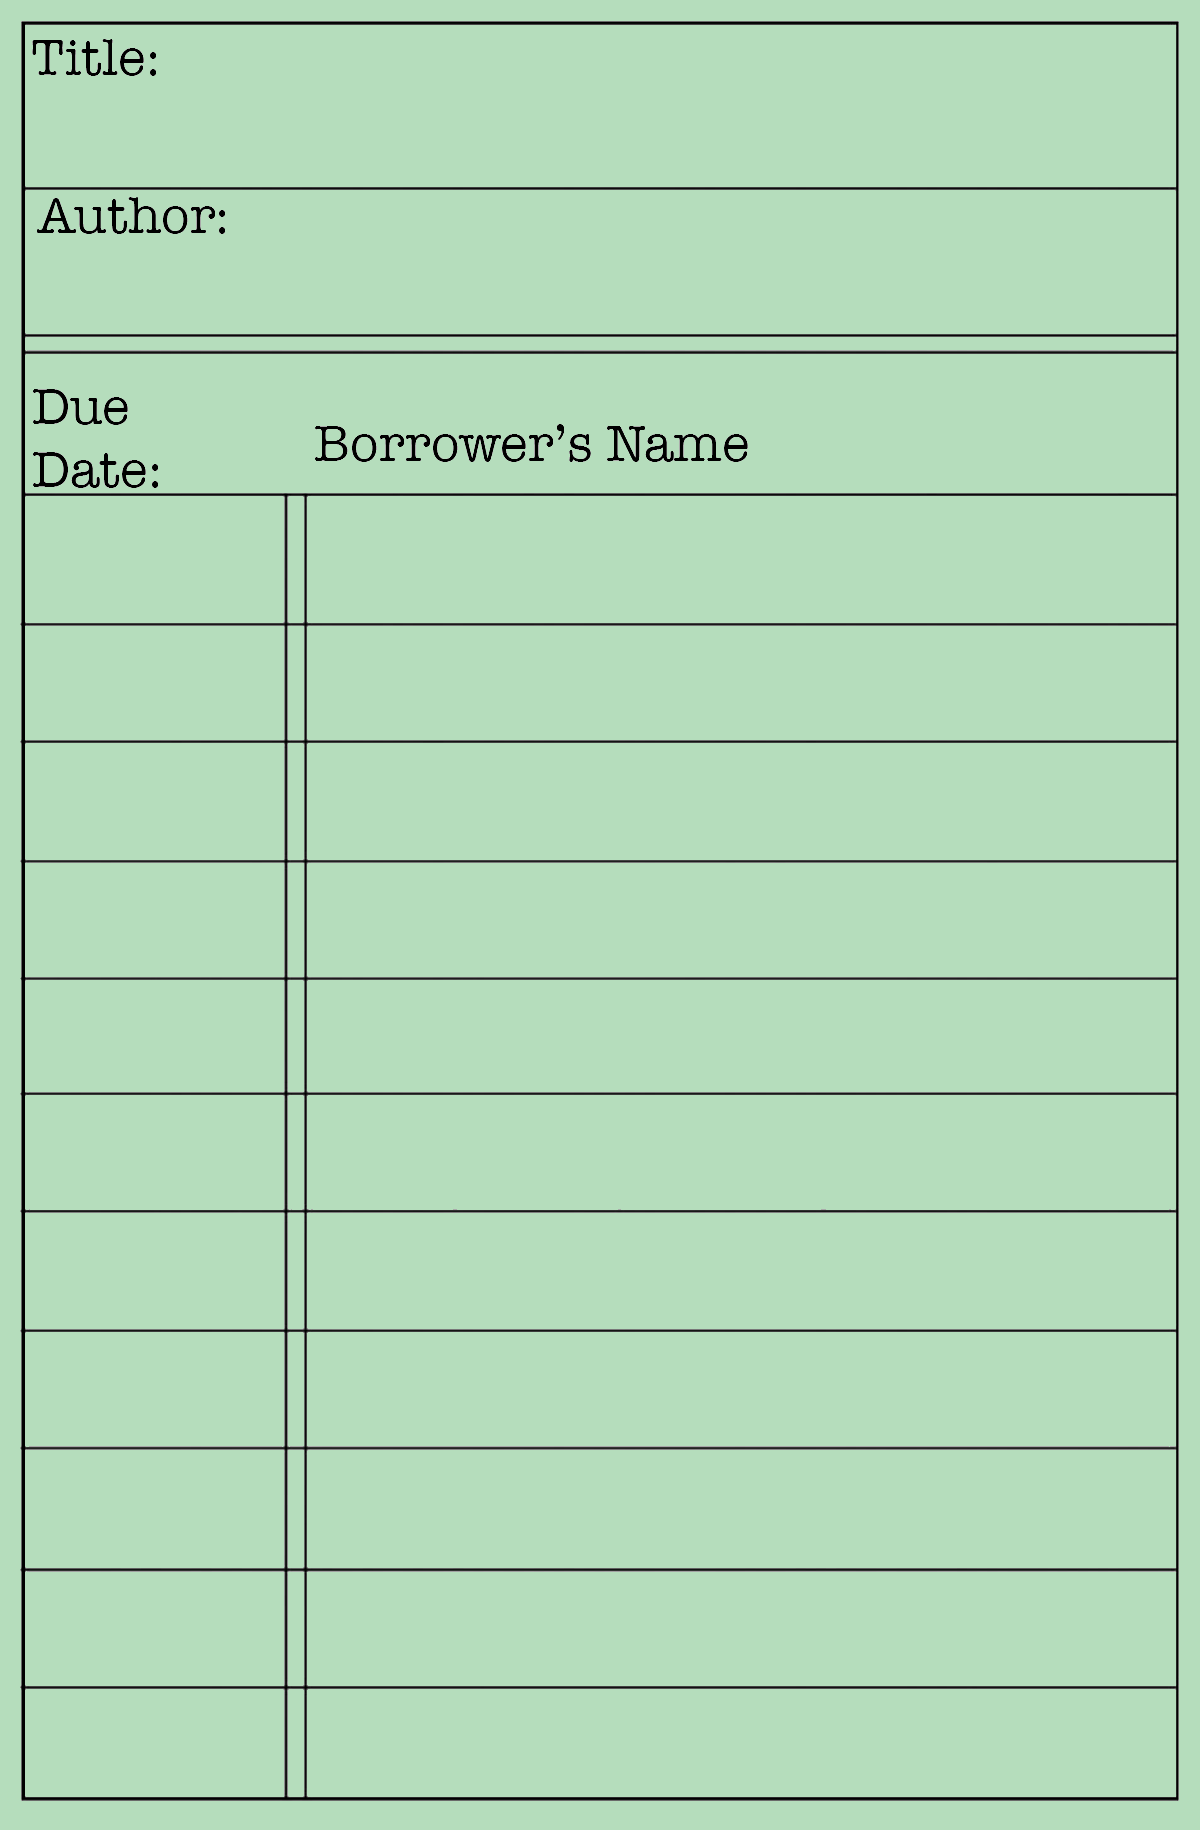
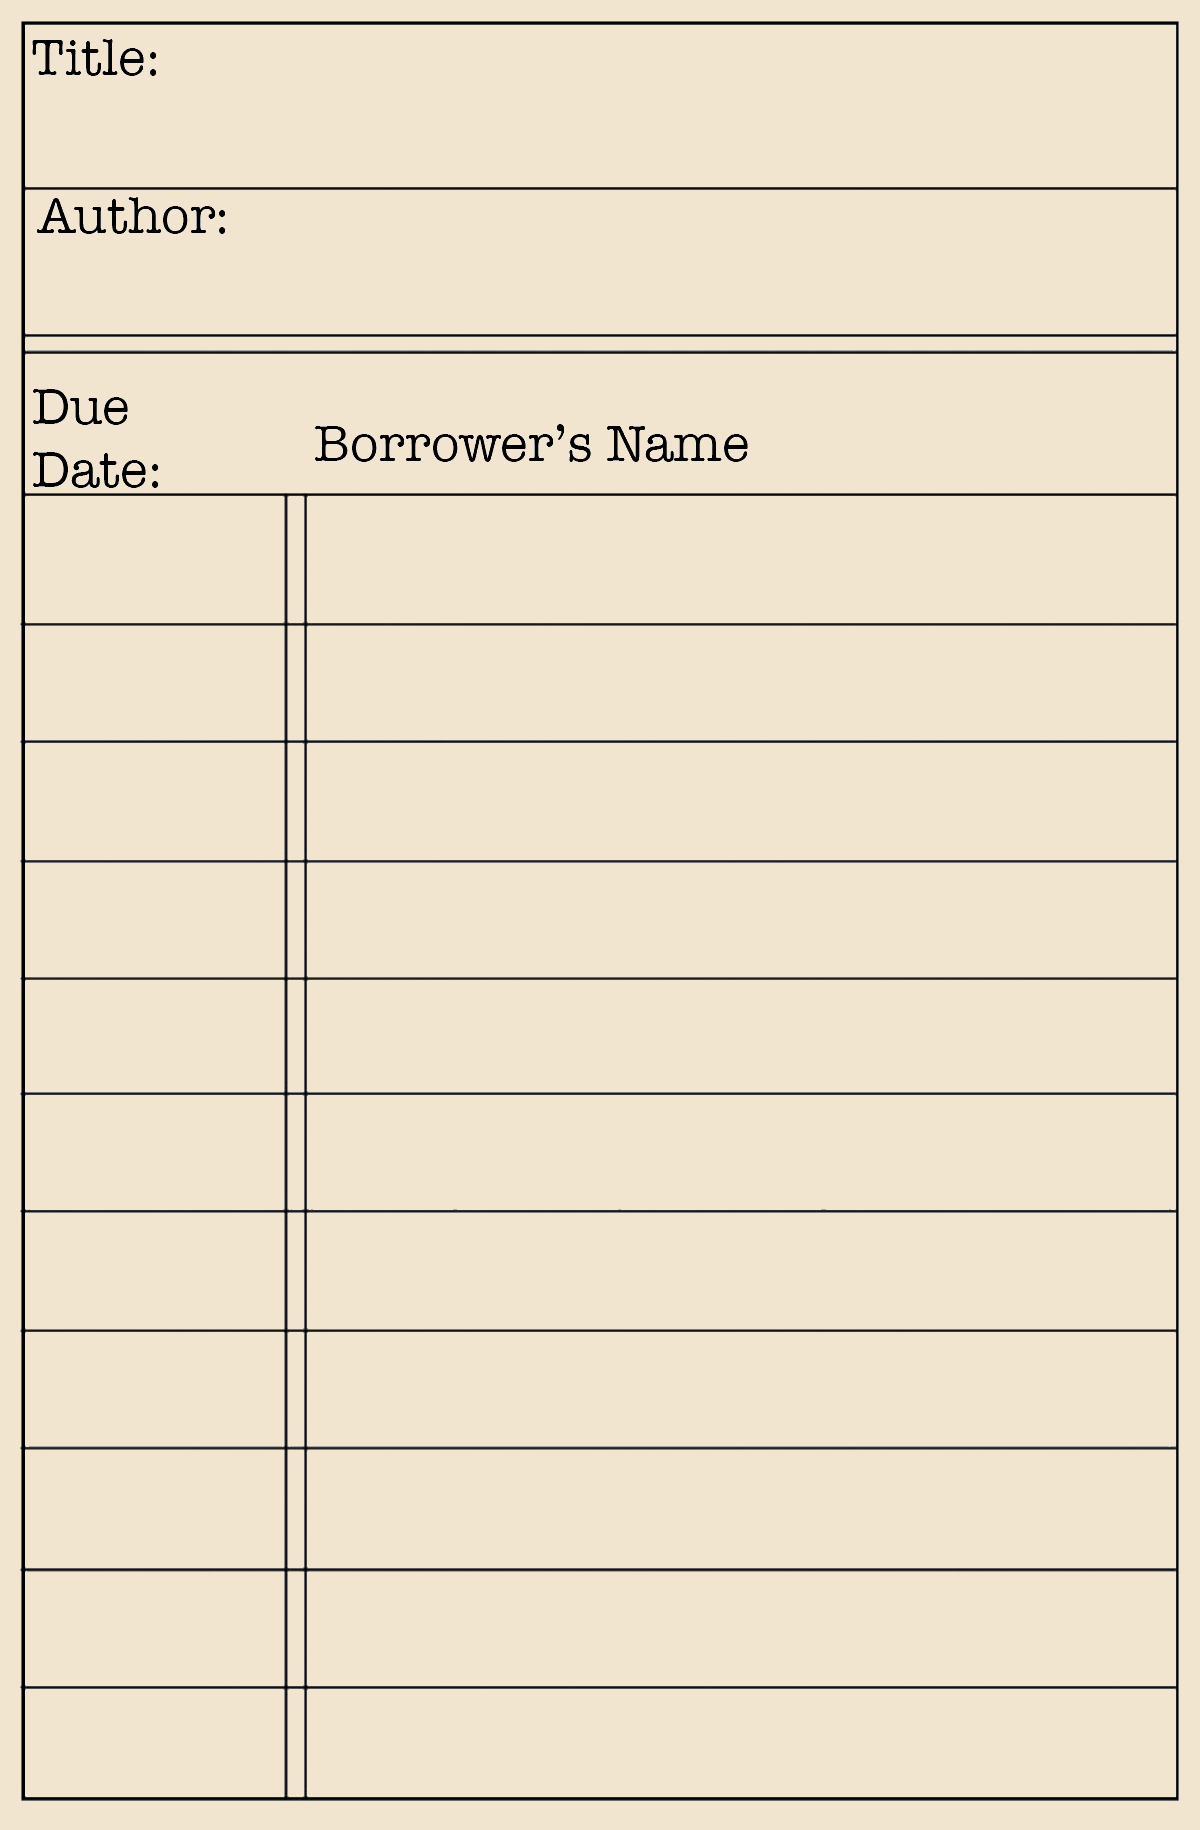
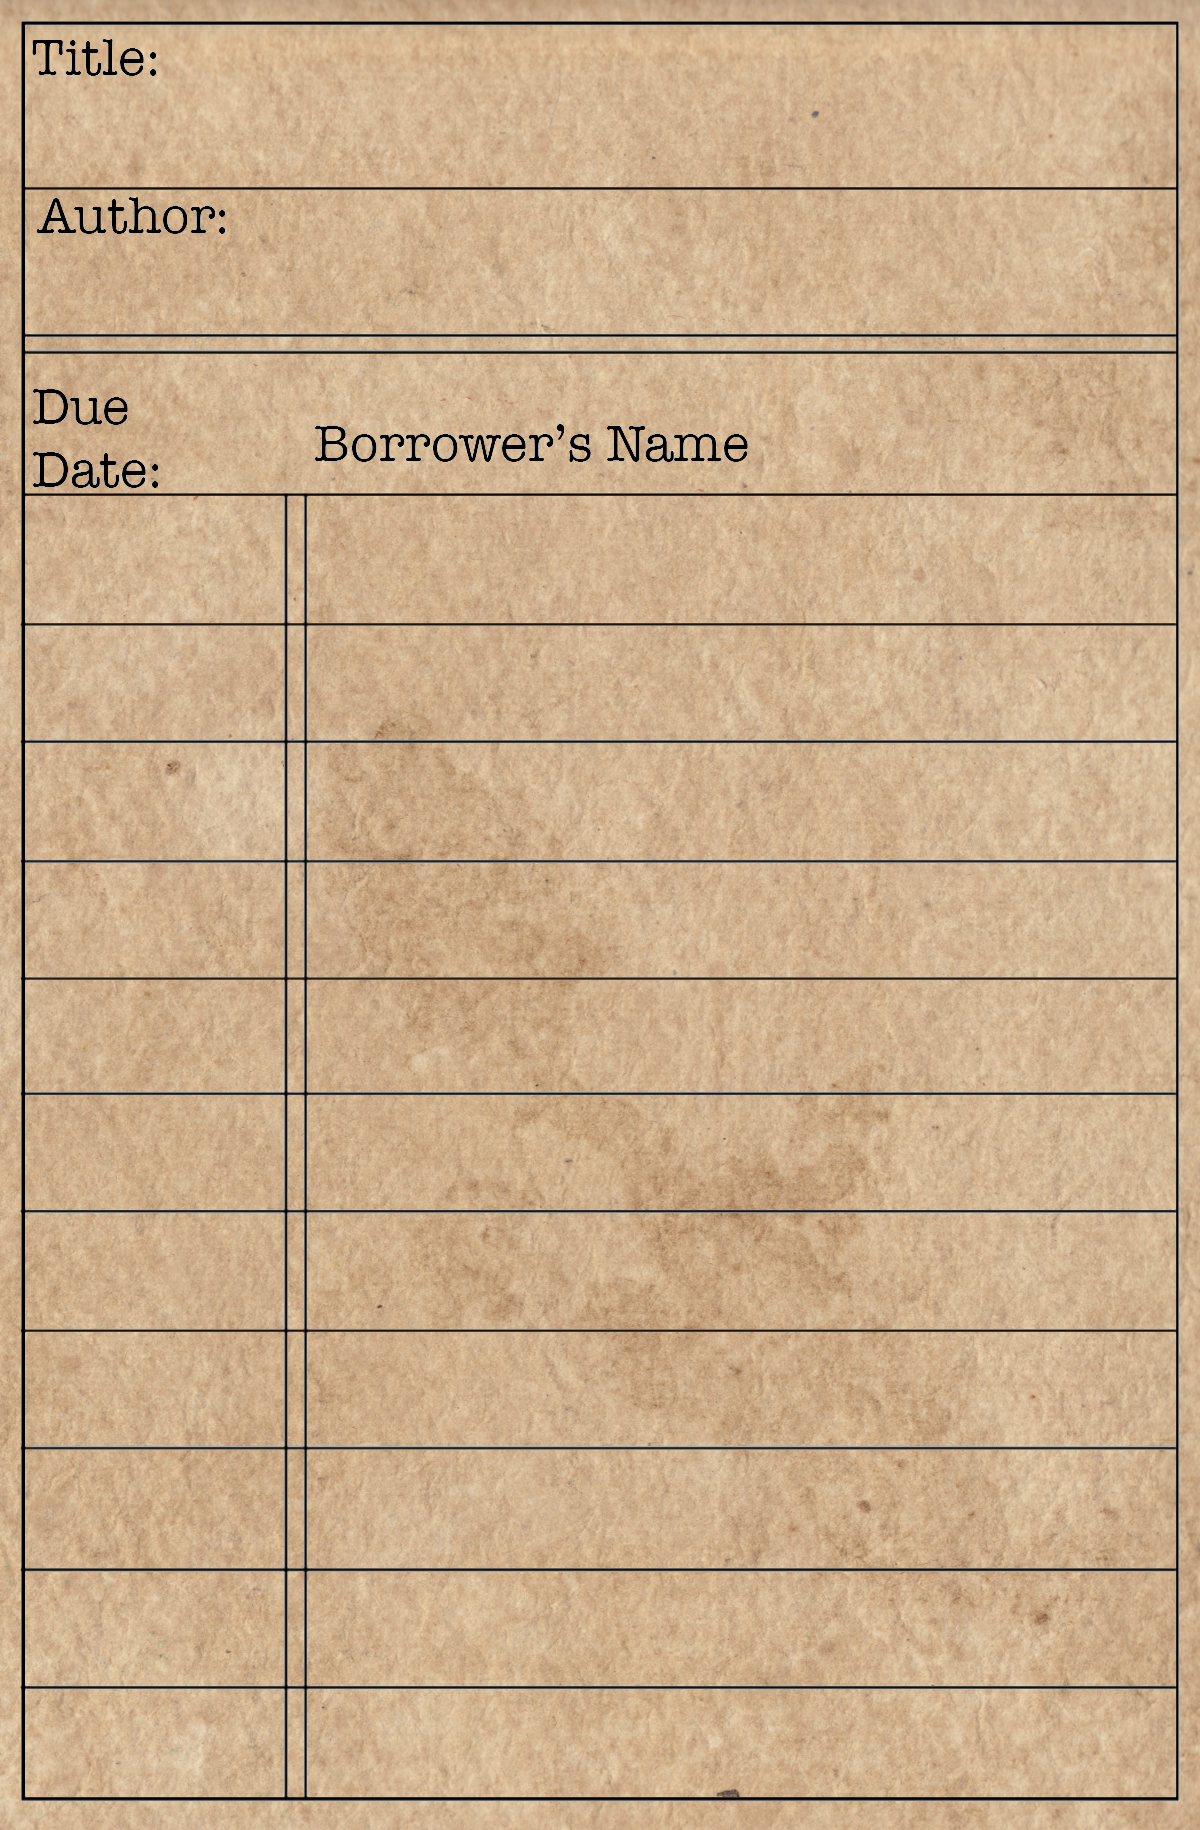
Let’s talk first about the card printables. I made templates that will print out as a 6″ x 4″ graphic. You are free to download and use them for your personal use. (I’ll talk a little bit about the size of a library card notebook in a minute.)
I have several colors for you to choose from. Right click on the one(s) below that you want and save it. (At the end, there is a buff colored one and a vintage looking one if you’re interested.)
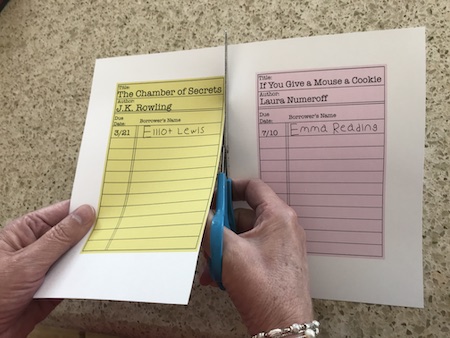
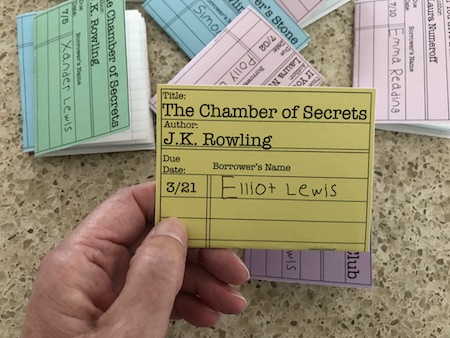
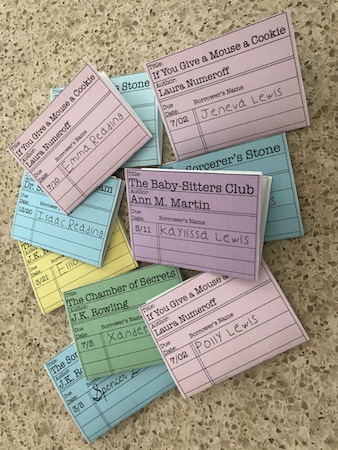
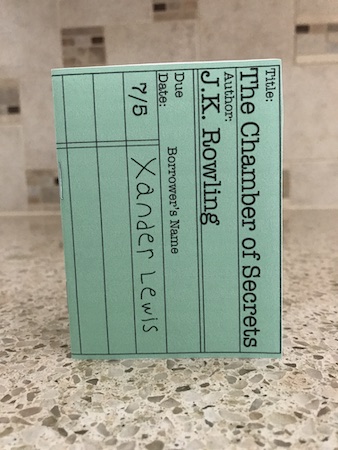
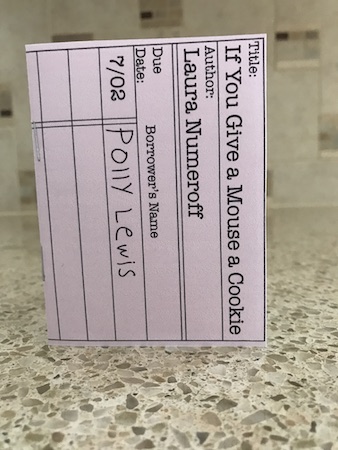
Before I printed out the cards, I typed in the name of a book and its author on it. I added a due date (which was the birthdate of the child who received the notebook).
I found a free kids font that looked like a child’s handwriting and used that font to type the grandchild’s name. Check out the picture below to see what my grandchildren’s name looks like. I really like how they turned out!
Now print the library cards on white card stock and cut them out.
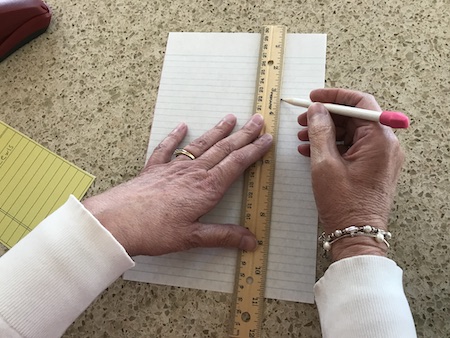
I measured and cut the lined school paper to be a tad smaller than the cards.
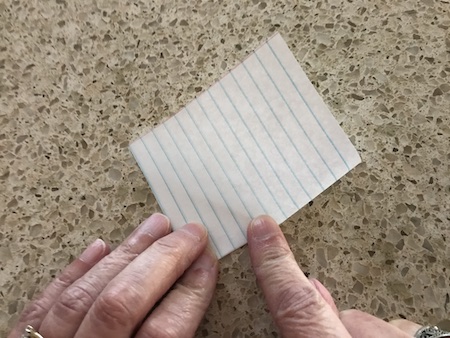
I folded the lined paper in half and pressed it really good with my fingers so it would lay flat.
I folded the library card in half and pressed it really good with my fingers so it would lay flat.
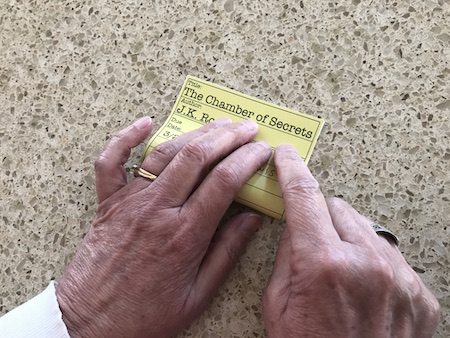
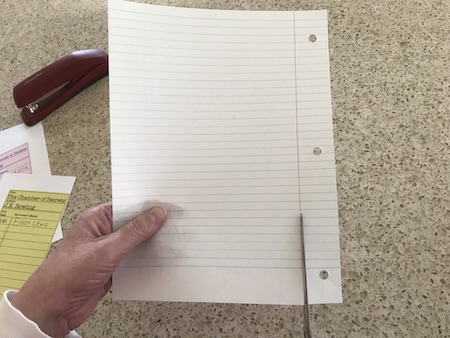
I unfolded the lined paper and stacked 7 pieces together. I unfolded the library card and carefully placed it on top of the lined paper. Then, I stapled them all together on the fold line.
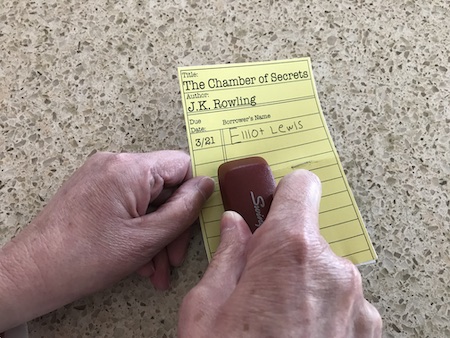
A word of caution here. You can’t have more pieces of paper than your stapler can handle. I put 9 pieces of lined paper in one library card notebook and my stapler could barely go through all of the paper. That’s why I used only 7 pieces of lined paper for the rest. The stapler worked just fine with that amount.
Now let’s pause a moment to talk about the size of these cute little notebooks.
I didn’t want them to be 5″ x 3″ because I felt that that would be a tad too small. That’s why I made then 6″ x 4″.
However!
My stapler was too small!!!!!!!!!!
I couldn’t staple on the fold line because the throat space of the stapler was too short. What to do, oh what to do?
I could reprint everything and recut all of those sheets of lined paper.
But I didn’t want to. (I’m lazy like that . . . )
But then I had a brilliant idea. I called a friend to see what kind of a stapler she had. It was a Bostitch Office stapler. It was bigger than mine. Much bigger. She let me borrow it and it worked just fine. That stapler saved my lazy bacon. Phew!
So maybe before you print up your cards, see what size of stapler you have and print them accordingly. (Or maybe you have a wonderful friend like I do who has a big stapler that she’ll let you use.)
After stapling the pages inside the card to create the notebook, I folded it shut. I pressed the fold again. Really. Good. And I mean REALLY GOOD! Especially around the staples. This helped the notebook to lay as flat as possible.
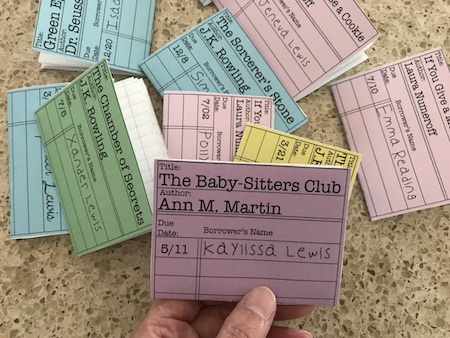
Voilà! A whole flock of library card notebooks. I think they’re as cute as a bug’s ear (however cute that is).
And I think my grandkids will love getting them, too.

(NOTE: a reader asked me how to add text to the library cards once they are downloaded. I created 2 tutorials explaining how. This one is for people who use Mac computers and this one is for people who use Windows computers. Both use programs that are free.)


20 thoughts on “Library Card Notebook”
They are adorable! What font did you use on the ‘Title, Author, Due Date’ part?
Thanks for your sweet words. It’s a free font called Kids. You can get it DaFont.com.
Oops! I was thinking of the handwriting font. For the title, author, due date I think I just used Times New Roman.
Cute books! We will use them for our homeschool work! Just a tip for anyone who doesn’t have a long handled stapler. If you have an awl for book binding or even a thicker needle or tack, use that to make the holes in your booklets for the width of your staples. Then manually push the individual staples through the holes instead of using the stapler itself. Hope that makes sense. Way easier!
Thanks so much for explaining an alternate way to staple these!
thank you for sharing 🙂
I hope you have fun using this idea!
Everything is so cute. Love the seed packets. I’ve been looking for some just like yours. Thanks so much!
Yes, those seed packets are fun! I’m glad you like them.
How do you type on the library cards after you save the
It’s fairly easy. I’ll make a little tutorial and send it to you personally and then post it here so that others can know how, too.
Thank you SO much!!
These notebooks are the cutest thing ever! Thank you so much, I printed out some of your library cards to go in my planner and I just love them!
I’m glad you like them! They remind me of how I checked out books when I was a kid. I don’t think libraries use these much anymore. My public library just prints out a little piece of paper similar to a receipt from a store.
I love library cards and these are fabulous! Thank you, Nina. And that “Kids” font is perfect!
I’m glad you liked these library cards. They were so fun to make! (And my grandkids loved the little notebooks.) Thanks for your kind words!
I love these! I made larger ones and I used my sewing machine. They zip right up. Quicker than a stapler even. I love the library card idea though. Wow. Best wishes from one grandma to another.. Linda @Crafts a la mode
Man oh man! Why didn’t I think about using my sewing machine? I guess I had ‘blinders’ on and could only think of using a stapler. I’ll sew them the next time I make them. Thanks for the terrific idea.
Thank you for sharing this idea and the images. What a sweet idea for the students to write their list of school supplies for the upcoming year or maybe the books they have read this summer. So many ways to put them to good use.
Cheers! 🙂
Your ideas for using these library card notebooks are fabulous!! Thanks for your wonderful comment.