Back in the Mesozoic Era when I was in college, I had wonderful roommates! I was blessed that all of them were nice and that we got along.
I got especially close to one of my roommates while I was a sophomore. At the end of the school year, we went our separate ways for the summer. My friend got a job at a food processing plant where they packaged frozen vegetables.
In those days, frozen vegetables came in a lightweight cardboard box which was wrapped in a paper that had a picture of the vegetables inside.
One day that summer, I got a letter from my roommate. She used one of those paper wrappers and created an envelope with it. The wrapper was for peas so the envelope had a picture of peas on it. While peas aren’t especially fine art, they were fun on the envelope!
You must remember that back then envelopes were white. Blah. Boring.
Sometimes you’d see red ones with Hallmark Valentine cards in February. But colored ones were the exceptions rather than the rule.
Now to change the subject a wee bit.
I love tropical places. I love tropical beaches. When I buy calendars, I normally buy ones that have pictures of tropical beaches.
At the end of the year when I get a new calendar, I have a hard time throwing away the old calendar because I love those beach pictures so much. So I keep it. When my calendar stash gets too big, I sadly throw away some of the older calendars.
Back in January when I got a new calendar, I kept the old one. Of course.
Now to the present time.
I decided to write letters to my grandkids. For some reason, I remembered the envelope my college roommate made from that wrapper for frozen peas. I remembered how delighted I was with that envelope.
I don’t happen to have any of those wrappers laying around. However, I do have TONS of pictures of tropical beaches. They would make fabulous envelopes — ones that would brighten a grandchild’s day during the gray days at the end of winter.
So today’s craft is making envelopes from a calendar page. (Phew! That was a lot of back story to get to the craft, wasn’t it?)
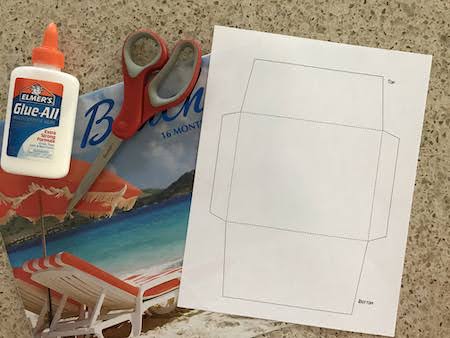
Here’s what you’ll need:
- an old calendar
- scissors
- glue
- my free envelope template
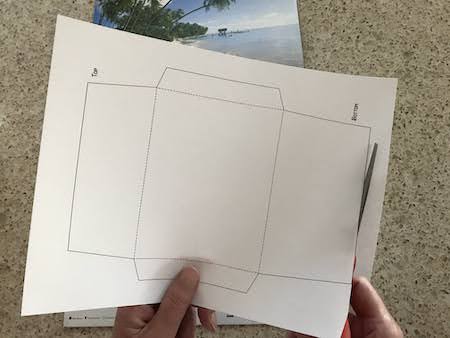
First, print out my free envelope template. Then, cut it out.
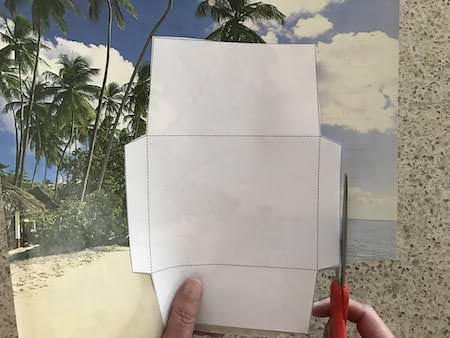
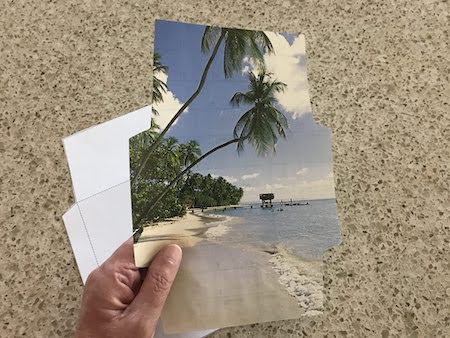
Position the template over the part of the calendar picture that you want to use. Cut out the envelope shape from the picture.
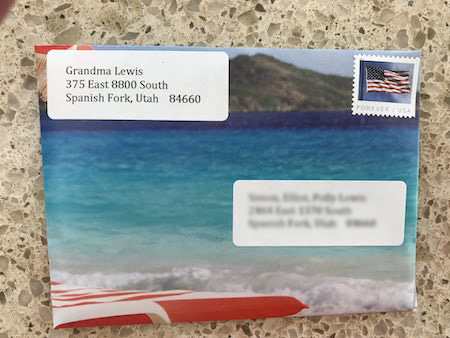
(If you look at the bottom right corner of the above picture, it looks like the picture is ripped and that my countertop is showing through. However, that part of the picture is really and truly there. It’s just the ocean wave as it ripples onto the sandy beach.)
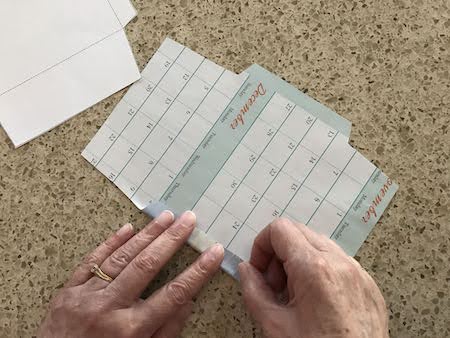
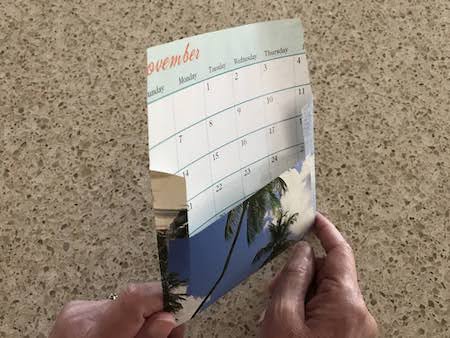
Turn your calendar envelope over so the picture is face down. Referring to the envelope template to see the fold lines, fold in the sides of the envelope.
Now fold up the bottom of the envelope.
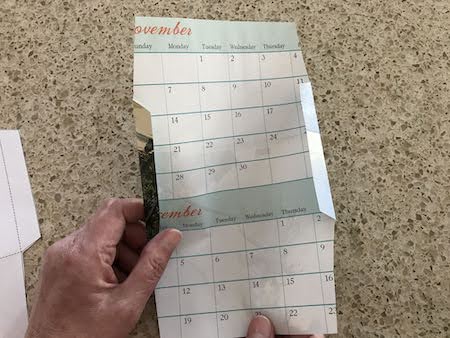
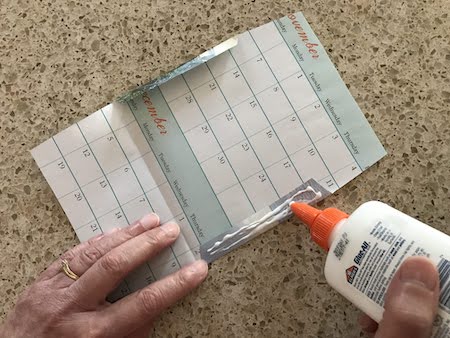
Put glue on the side tabs. Make sure that you don’t put so much glue on that it leaks out past the tabs. You don’t want your envelope glued shut on the sides. That would make the envelope small on the inside.
Bring up the envelope bottom and press down into the glue.
Let’s pause here and talk about glue — and the calendar picture you use for your envelope.
At first, I thought I would just use a glue stick to glue my envelope together. But the calendar paper was glossy. Slick. I worried that if I used a glue stick that the envelope wouldn’t stay glued together (because the paper was so slick) and that the letter would come out and get lost. I didn’t want that to happen!
So I did two things. First, I went to my stash of calendars. I found an old one that I had purchased for $5 at the grocery store. The paper was cheaper and it wasn’t as glossy/slick as last year’s $15 calendar. (There was one problem with the cheap calendar, however. The photos were rather blurry. Sigh.)
And, I used good old Elmer’s glue instead of a glue stick.
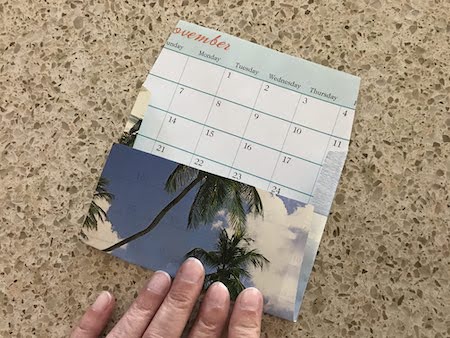
It was at this stage of my envelope making that I realized something. How you place the envelope template on your picture makes a difference!
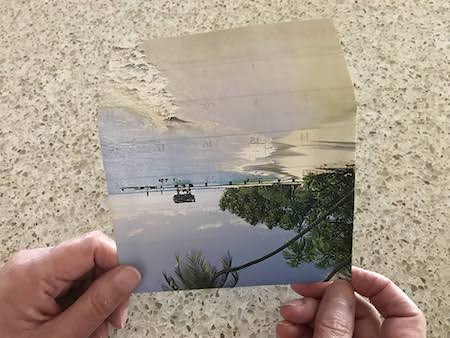
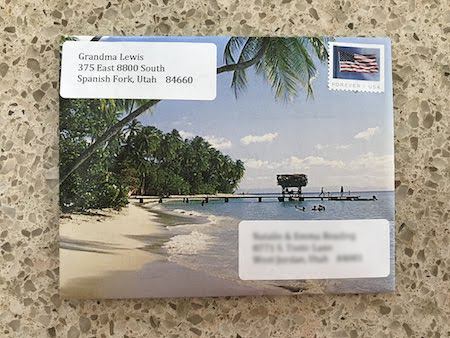
I turned my envelope over after gluing the sides. I held it so that the top part (that would be folded over and glued after I inserted the letter) was at the top. The calendar picture wasn’t going in the right direction. It was upside down! Sigh.
So be really careful how you place the template on your calendar picture!
(Man! I sure don’t like how the corner of the envelope seems to blend in so well with my countertop!)
I wrote my letter, folded it, and put it in the envelope.
I folded the back flap, put glue on the edge of it, and pressed it to the back of the envelope.
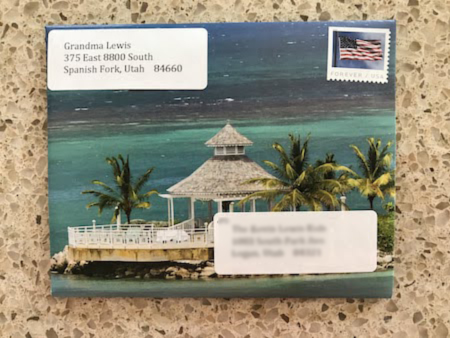
The envelope was finished!
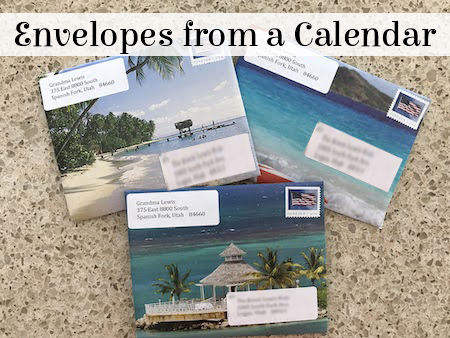
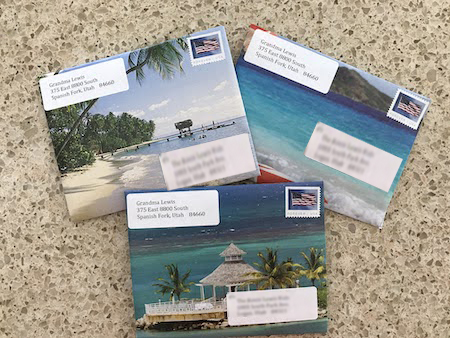
Altogether, I made 3 envelopes.
All in all, I was pleased with how they turned out. And, I think that the grandkids will love getting them in the mail!
(This is the calendar picture that was blurry.)
I hope you have fun making an envelope out of a calendar! It’s easy, cheap, and a great way to use up all of your calendars with pretty pictures.



3 thoughts on “An Envelope from a Calendar”
This is a really nice post and project. I have old calendars I can’t throw away, this could be cool for them!
Oh, my goodness! This brought back such sweet and wonderful memories! I belonged to a penpal community back in the 1990s and often made envelopes from calendars and magazines to make my letters stand out! Such beautiful times! Thank you for this flash-back!
Maya, I’m glad you used calendars and magazine pictures to make envelopes so that your letters stand out! You’re awesome!