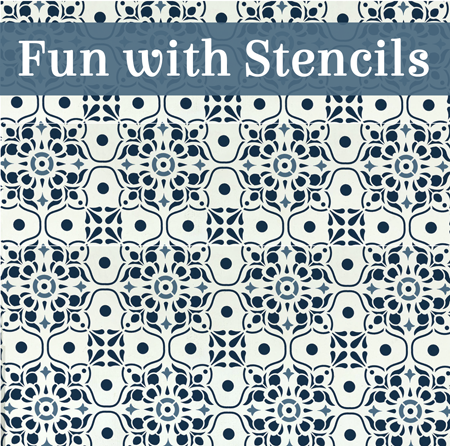
(NOTE: I was given some stencils from Stencil Revolution but all opinions are my own.)
I love it when grandkids have a day off from school! It’s a wonderful opportunity to spend time with them. Time doing fun crafts!
This is the first time that I’ve done any stenciling. And the first time for my grandkids. So, I thought that it would be best to do something simple. Like painting a design on a dish towel.
Here are the supplies that we used:
- Acrylic paint
- Fabric medium
- Dauber paint brushes
- Dish towels
- Stencils
- Cardboard
You’ll notice that there is a roll of painter’s tape in the picture. We didn’t end up using it on the dish towels. I’ll explain why in a minute.
Since my granddaughters hadn’t used stencils before, I thought it would be a good idea to have them practice on paper first. That way they could learn how to hold the dauber paint brushes and how to get the right amount of paint on the brush.
They used the painter’s tape to hold the stencil in place on the paper.
They squirted some paint on a small paper plate. Then they dipped their brush in the paint and then blotted their brush on the paper plate to remove excess paint. (This is called drybrush painting where the brush is almost dry but still has some paint on it.)
They rinsed and dried their brush between colors. (Make sure you dry the brush really good! You don’t want to have water that will make the paint bleed beneath the stencil.)
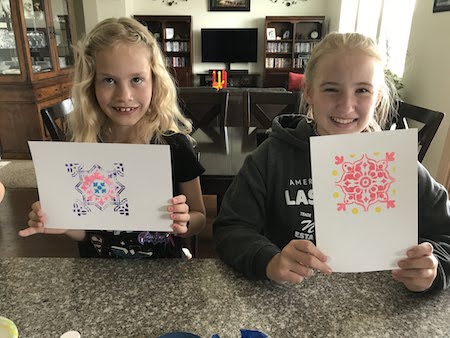
This is their design on paper. I thought they did a great job!
Now, to paint on a dish towel.
When using acrylic paint on fabric, you need to use fabric medium. Fabric medium will keep the paint supple. You can buy paint that already has fabric medium in. But if you want to use lots of different colors, that could get expensive. I got a large bottle of fabric medium and then mixed it with the different colors of paint that we used.
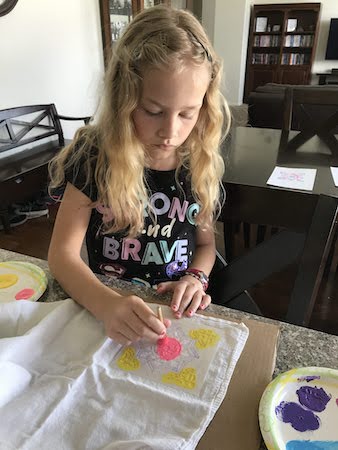
We put a piece of cardboard under the dish towel so that the paint wouldn’t go through the dish towel and get on the counter.
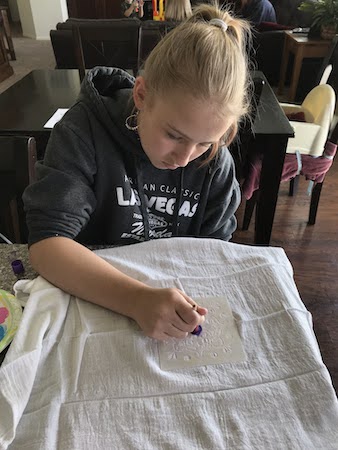
When they placed the stencil on the towel, it didn’t move around. So I thought that they didn’t need to use the painter’s tape. And that was fine. However, if you were creating a symmetrical pattern over a larger area, I think I’d use the tape or a spray adhesive.
Here they are painting, painting, painting . . .
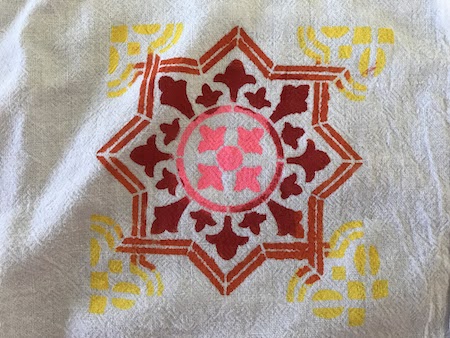
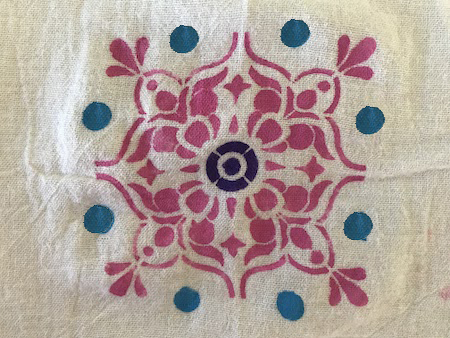
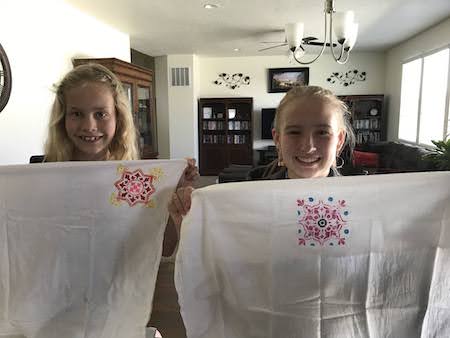
They did a fabulous job! I was so proud of them.
If you are going to wash your stenciled item very much, you’ll need to heat set the paint. To do this, put another piece of fabric (or parchment paper) over your design. Set your iron to a medium heat and then iron over the design. Make sure you don’t scorch it!
Do you think that they will be excited now to dry the dishes with these dish towels? Hmmm?
(I’m going to be doing another stenciling project so keep your eyes pealed for that.)
You know, you could stencil on tons of things: fabric chairs or sofas, walls, floors, canvas shoes, sheets, curtains, and wood (for a decoration around your home). You could stencil on paper, frame it, and hang on your wall. The options are endless.
I was very pleased with these stencils. They are made from a very sturdy plastic and won’t tear at all while you are using it. They will last for years to come. They are high quality at its best!
Stencil Revolution has TONS of stencils to choose from — holiday ones, funny ones, sports and state ones, animal ones, seasonal ones, and even religious ones. There are so many that (if you’re like me) you’ll have a hard time choosing. So why not get a whole flock of them?
Head on over to Stencil Revolution to see their fabulous selection. Buy a few and then have loads of fun stenciling!

