What do you think when someone says printmaking?
Do you think of a long, arduous process?
Something that is really difficult to do?
Maybe something that takes special equipment? Equipment that is expensive?
And probably something that you wouldn’t consider doing with your grandkids?
Well, hold onto your horses, Nellie! I have a terrific printmaking idea that is not hard, that doesn’t take a long time, that doesn’t require special equipment, and isn’t expensive.
This is DEFINITELY a craft that you can do with your grandkids. (Well, let me qualify that. It’s best done with grandkids that are at least 8 years old.)
I’m going to show you how to do monoprint mandalas. But first, lemme explain what it is.
Monoprint means a one time print. You have a template and you get only one print from it. But as you’ll see in a moment, that’s okay!
Mandala comes from the Sanskrit word that means circle. And the circle has a geometric pattern in it.
So a monoprint mandala is a print of a circle that has a geometric design.
Now that you know that, let’s get started.
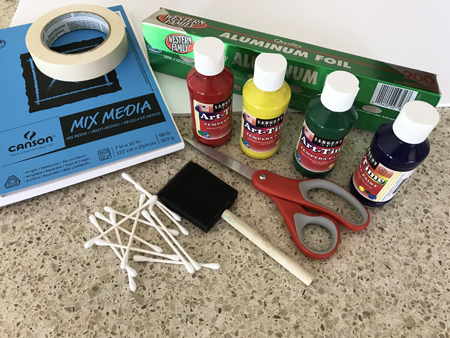
Here’s what you’re going to need:
- Foam core or cardboard
- Tempera paint
- Sponge paintbrush
- White card stock
- Masking tape
- Aluminum foil
- Scissors
- Q-tips (make sure you have plenty!)
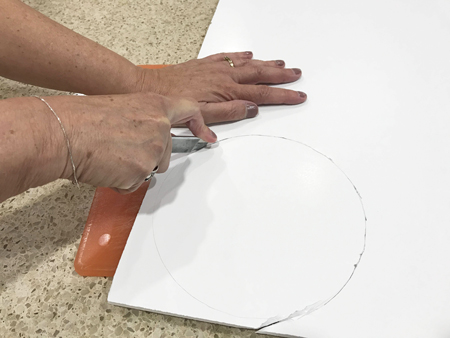
First, draw a circle on your piece of foam board or cardboard and cut it out. I used foam board because I had that on hand. However, it is hard to cut. I ended up using my Xacto knife and a cutting board.
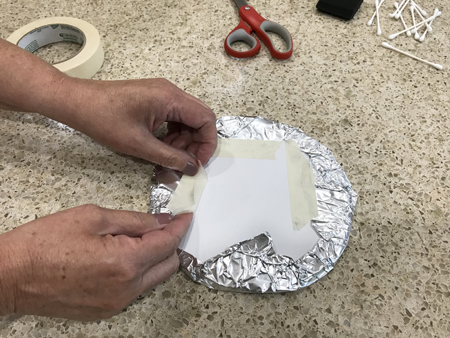
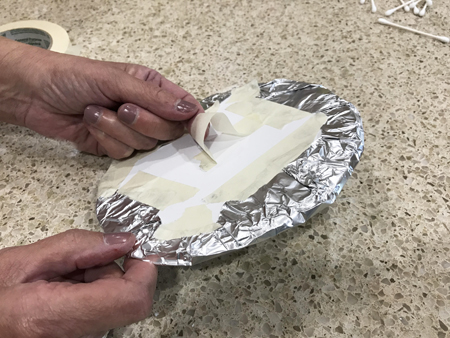
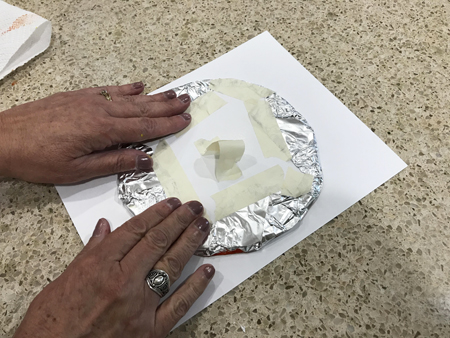
Cover the circle with aluminum foil and tape the foil on the back side. This is to keep the foil tight while you are making your prints.
Make a little handle and tape it on the back. I used the masking tape thinking that having the sticky side next to my finger would be good to hold on to it better. Bad idea. Because the handle stuck to my finger, I would have a hard time getting it off and I would accidentally smear my print. I recommend that you make a handle out of paper.
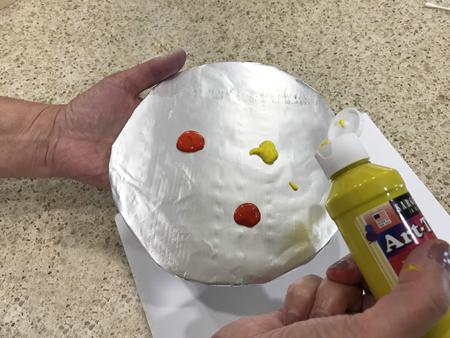
Squirt some tempera paint on the aluminum-covered ‘palette.’ You can squirt on one color, or two, or three. You don’t want a lot of paint. Too much paint makes for a goopy print, and turns the color yucky brown.
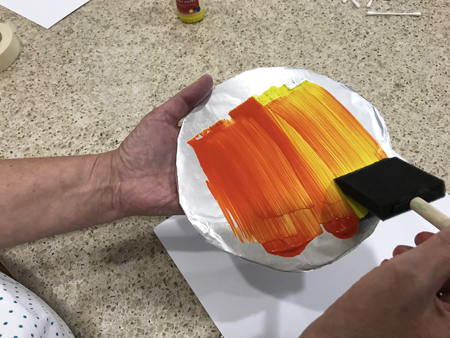
Using the foam paintbrush, spread the paint in smooth even strokes across the circle. You just want a thin coat all over the circle.
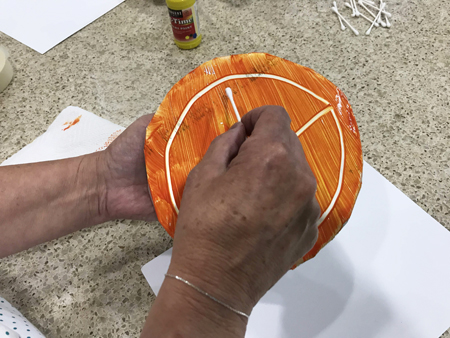
Now comes the fun part. Take a Q-tip and draw a design in your paint. To be a true mandala, it is supposed to be a geometric design within a circle. But whatever design your grandkids make will be absolutely fine. (Making a design in paint on aluminum foil is SO much easier that carving a print in wood!)
Encourage them to be creative — and to have fun!
Gently lay a piece of paper on top. (I initially thought I would use a mixed media paper. That is what is in my picture that shows the supplies that you need. However, my circle was too big to fit on that paper so I used card stock instead.)
Carefully turn your palette upside down and place on your countertop. Gently press your palette. This ensures that you get a good copy of your whole print.
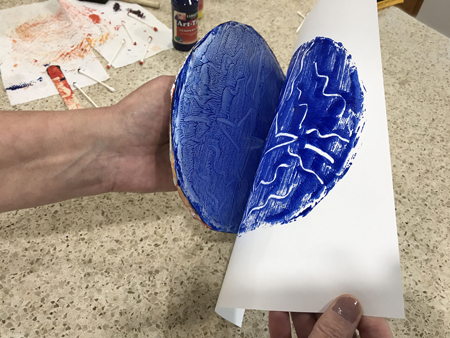
Carefully peel the paper away from your template. (I thought my husband took a picture of this step when I made the orange and yellow and red print. He didn’t. He only took a picture of this step when I made the blue print . . . sigh . . .)
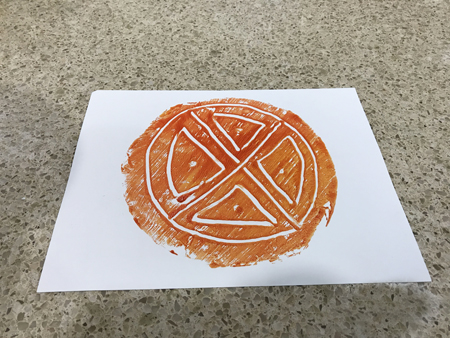
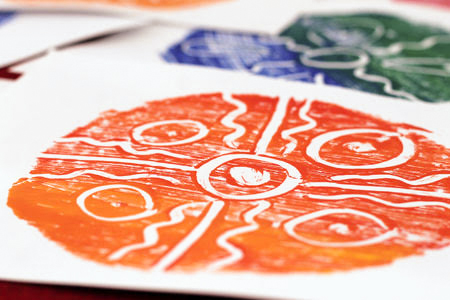
Ta da! You’ve got your monoprint mandala! (When I saw the print, it made me think of a pumpkin. Is that because October is just around the corner?)
Since you already have a palette made, you can use it over and over to make more prints. These are ‘mono’ (or one time) prints because you can only get one copy per design. Adding more paint and re-drawing a design is considered a ‘brand new’ print.
Use a damp paper towel to wipe off the paint when you change colors and be sure to dry the aluminum foil really good.
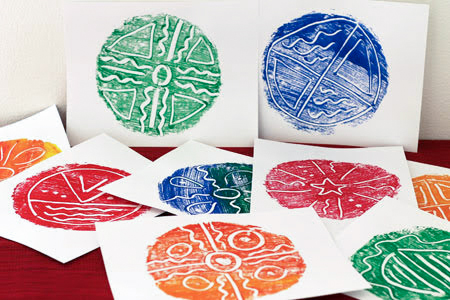
Make some more mandalas. Like these.
It might take a couple of times to get the knack of how much paint to put on your palette and practice to draw a design. Once you do, your grandkids will want to make print after print after print.



One thought on “Monoprint Mandala”
What a great idea! Thanks for sharing your tutorial at the Sew It Cook It Craft It link party. You’re one of my features today!