I love easy and inexpensive crafts — and that’s why I like this wooden Christmas tree one.
You probably already have most of the necessary items hanging around your home. About the only thing you’d have to purchase would be some triangle-shaped pieces of wood. (Mine were scraps left over from a project that my son did.)
So let’s get this show on the road and make a wooden Christmas tree or two!
Here’s what you need:
- triangle-shaped pieces of wood
- old Christmas cards, Christmas wrapping paper, holiday napkins, or scrapbooking paper
- Mod Podge
- acrylic paint
- brushes
- scissors
(Note: I was so busy making a wooden Christmas tree myself that I didn’t get many pictures taken of the process. And, I forgot to harass have my husband take pictures. Oh well.)
First, you need to paint the wood. After the paint is dry, cut a triangle shape out of the wrapping paper, napkin, or scrapbooking paper. Or, cut out a design from a Christmas card.
Spread a coat of Mod Podge on the tree. Place your paper on the tree and press gently. Careful now. Napkins and thin wrapping paper will tear. (Voice of experience here . . .)
Let it dry and add a top coat of Mod Podge.
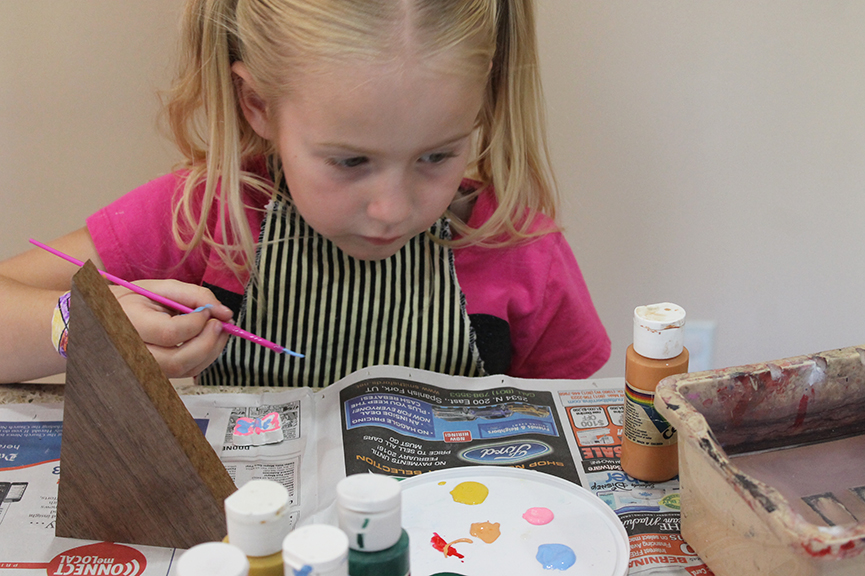
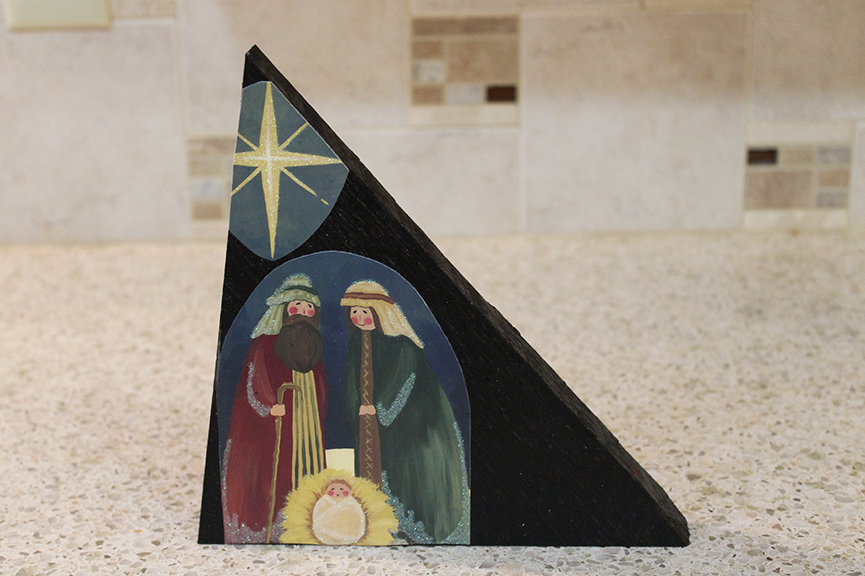
As I was getting out my supplies, my granddaughter spied a box. Ever curious, she wanted to know what it was. It had some Plaster or Paris figures that I made eons ago for my kids to paint. She was enthralled by them and wanted to paint them and not the tree.
No problem.
(Please ignore the 30-year-old plastic water tub I use to clean out paint brushes. It’s extremely old — like me — and well-used!)
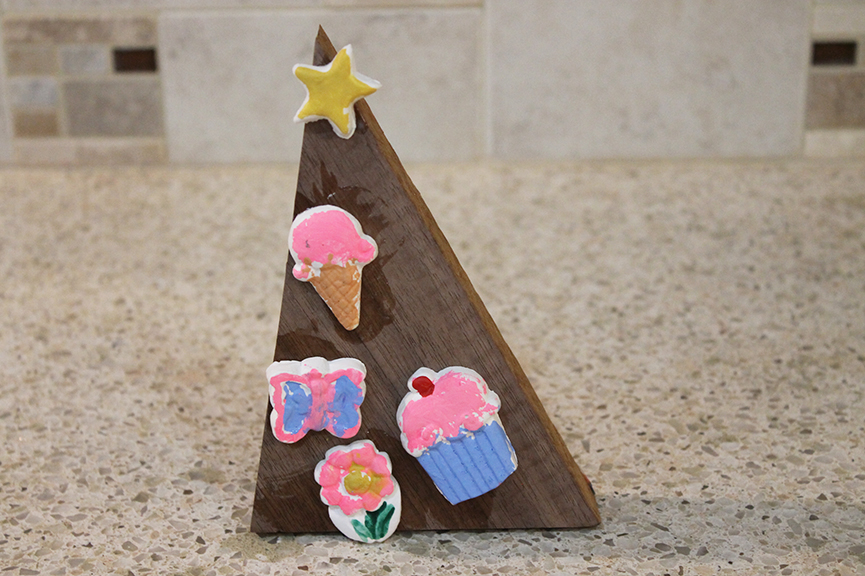
Then, she decided she wanted to put them on her unpainted tree.
Problem!
Would the Mod Podge be strong enough to hold them on the tree? Only one way to find out — do it!
We held our breath. Several minutes passed by. Then ten minutes. Then fifteen. They stayed! She was tickled. I was happy that she was happy.
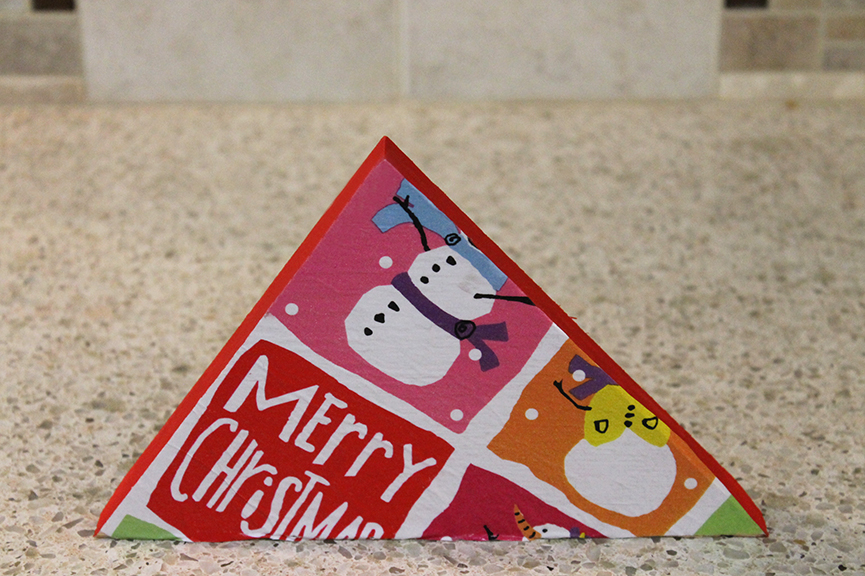
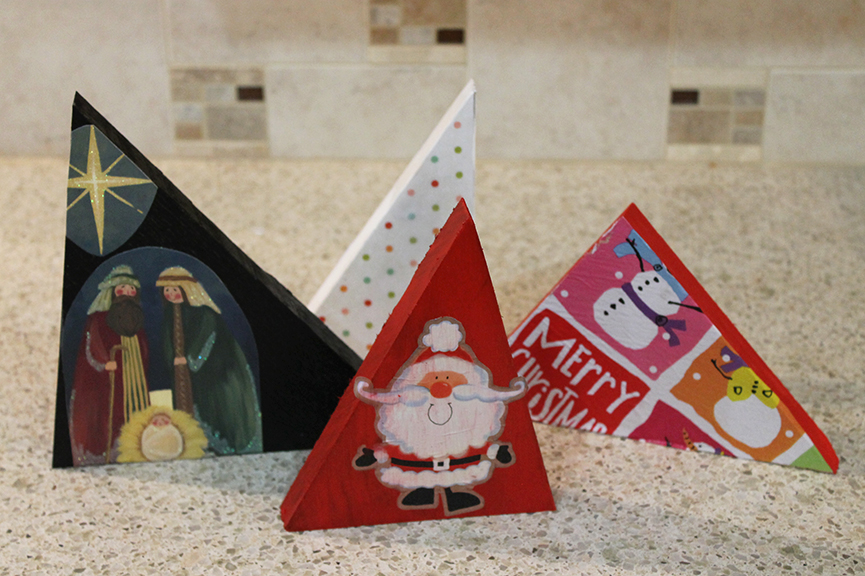
Here are the other wooden Christmas trees that we made. This one is from wrapping paper.
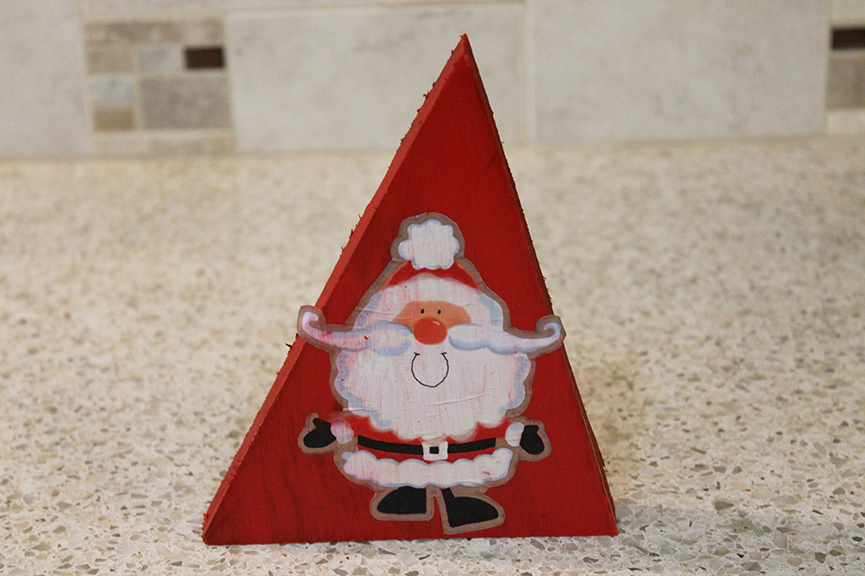
The next one is from wrapping paper, too. My daughter made this — and learned something. She didn’t wait long for the paint to dry before spreading Mod Podge and putting on her little Santa figure cut from a thin wrapping paper.
The red color from the paint bled into poor Santa’s white beard. My daughter wasn’t happy but I thought it was just fine! After all, my main purpose for making this craft was to have fun with my daughter and granddaughter. Perfection wasn’t the goal.
This is from an old Christmas card. (I do hope you are saving all sorts of cards that you get because they are great for craft projects.)
Do you see the polka dot tree in the picture below? That is scrapbooking paper.
I added glitter to the top coat of Mod Podge on the tree with the gold and silver ornament. I thought it turned out rather nice.
Put on some Christmas music, break out your materials, and make a forest of these wooden Christmas trees!





5 thoughts on “Wooden Christmas Tree Craft”
You always come up with such fun and creative projects for kids! Thanks for sharing it with SYC.
hugs,
Jann
Hi Jann,
My projects are NOTHING like your elegant ones! Thanks for dropping by and commenting!
Nina
What fun crafts, and what a great way to use old Christmas cards! Your Wooden Christmas Trees look lovely! Thank you for sharing them with us at the Hearth and Soul Hop.
Nina, this is such a sweet idea! Am going to search our wood pile to see what we could use to do this when the little ones are here … Would love to do this with them! Simple and such a memory maker. 🙂
Carolyn,
You know, ANY shape would work . . . rectangles, circles . . . whatever scraps from your wood pile would certainly lend themselves to this activity.
Merry Christmas!
Nina